
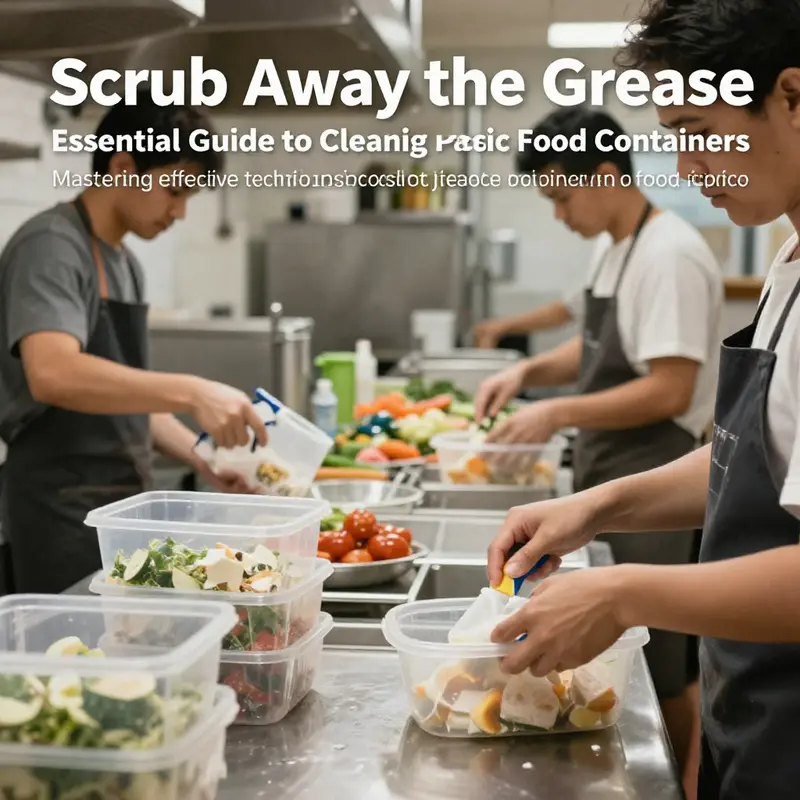
Maintaining cleanliness in kitchenware is vital for any business that deals with food, especially in environments like bubble tea shops, restaurants, and catering services. Greasy plastic food containers not only detract from the visual appeal of your presentation but can also lead to food contamination and unpleasant odors. This guide will explore step-by-step methods tailored for food service professionals to effectively clean greasy plastic food containers, ensuring they remain safe, functional, and visually appealing. We’ll start with pre-rinse and soak techniques, move to selecting safe cleaning agents, and finally, discuss scrubbing and drying methods that protect your containers while achieving outstanding results.
Salt, Heat, and Gentle Care: A Pre-Rinse Path to Pristine Plastic Containers
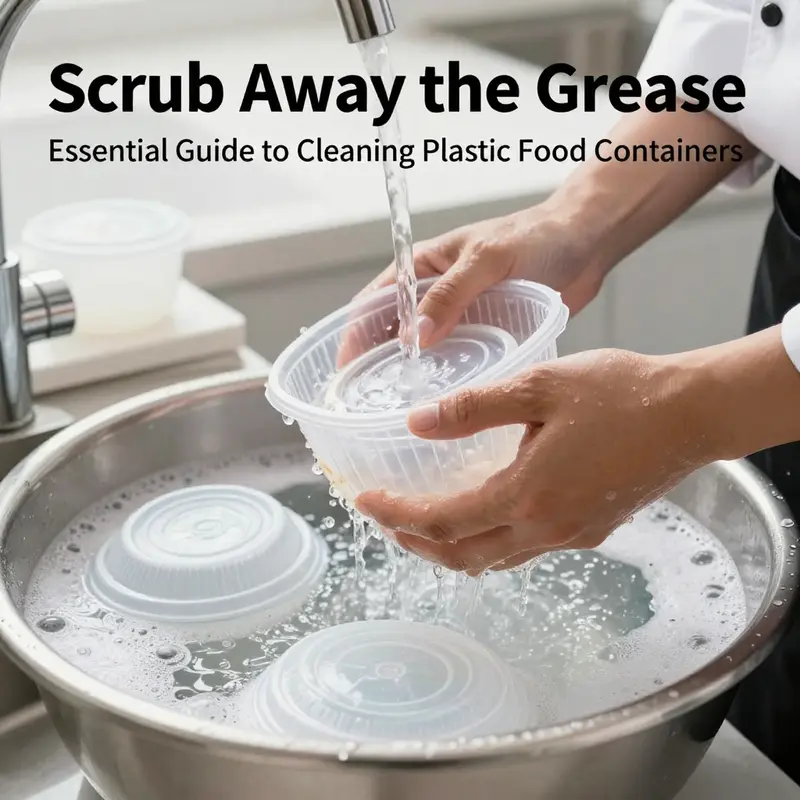
When you reach for a greasy plastic container, your first action sets the course for a clear finish. Begin with a cautious pre-rinse to remove loose food particles. A warm-water rinse helps clear crumbs and sauces and prepares the surface for the next steps. If grease remains, proceed to a more purposeful soak that combines heat and salt to soften and lift oils.
Heat and salt method: Fill the container with hot water, aiming for about 60 to 70 degrees Celsius. Add one tablespoon of table salt to the bath. The heat helps melt oils and the salt acts as a gentle abrasive that can dislodge sticky residues without scratching the plastic. Let the container soak for several hours, depending on how deeply the grease has penetrated.
After soaking, drain the water and wipe with a soft sponge or cloth. Gently clean edges, corners, and any gasket area where grease collects. Avoid steel wool or rough pads that can scratch the surface.
Rinsing and optional treatments: Thoroughly rinse under running water to remove soap residues and mineral deposits. If a persistent film remains, you can re-soak with salt and warm water or use a vinegar rinse with caution, testing color stability first. Lemon juice can be used as a milder deodorizer and stain fighter in some cases.
Drying and storage: Dry the container completely, either by air-drying on a rack or with a lint-free towel. Ensure it is fully dry before storing and avoid leaving moisture that can harbor bacteria.
Longer-term care: For odors, a brief sun exposure (1-2 hours) with the container in a shaded, ventilated area can help. Alternatively, a bag of activated charcoal in storage can absorb odors. Replace containers if cloudiness, cracks, or persistent odors remain after routine cleaning.
Concise routine: Pre-rinse, hot-water soak with salt, gentle wipe with a soft tool, thorough rinse, and air-dry. Maintain light, persistent care rather than aggressive scrubbing to preserve clarity and surface integrity.
The Safe Clean: Gentle, Food-Grade Cleaners for Plastic Food Containers
Greasy plastic containers sit at the boundary between practicality and precaution. They hold meals, sauces, and snacks, yet the oils that cling to their walls can linger long after the lid is closed. The goal is to remove surface slickness while wiping away invisible residues that can harbor odors or affect food safety, all while preserving the plastic itself. This balance hinges on choosing cleaners that are safe for food contact, effective at breaking down grease, and compatible with the specific plastic type in your container. When you approach the task with this mindset, you move toward a thoughtful, science-informed method rather than brute-force scrubbing. The choice of cleaner matters as much as the technique of washing, because harsh chemicals or abrasive tools can dull, warp, or leave residues on containers used for food storage.
At the heart of this approach is a simple premise: use neutral or mildly alkaline cleaners that are explicitly labeled as food-grade or safe for contact with food. Plant-based surfactants derived from coconut or palm kernel oils exemplify the kind of ingredient profile that emulsifies grease without aggressive harshness. They help lift oil from pores and crevices while remaining gentle on plastics such as PET, PP, and PE. These cleaners are typically formulated to be biodegradable and well tolerated by common kitchen plastics. When you see a product with food-contact safety labeling, you gain assurance that even if a small amount dries on the surface, it’s unlikely to pose a health risk.
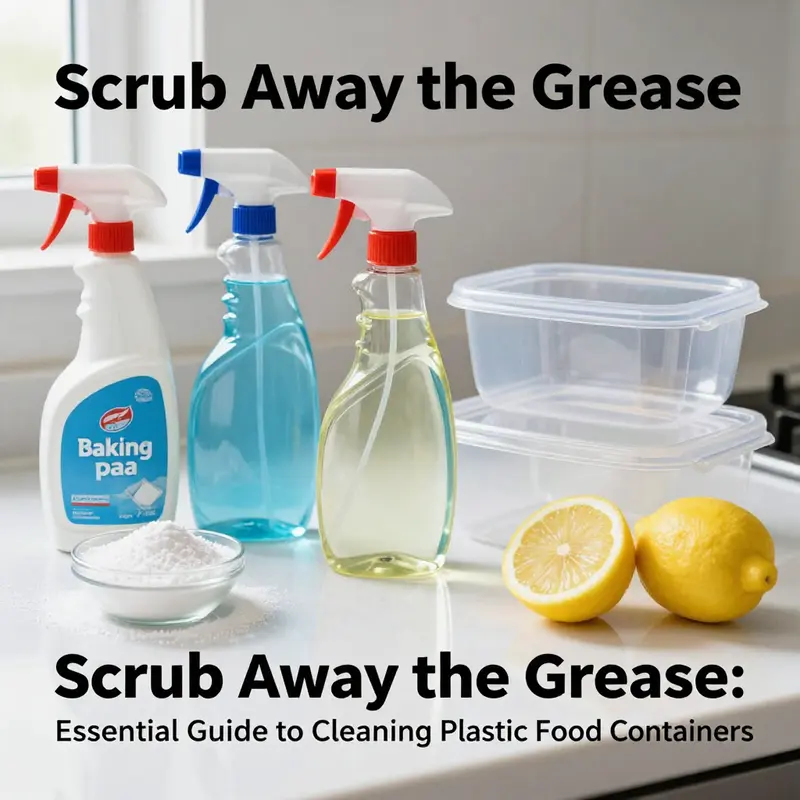
The practical toolkit remains simple: baking soda, white vinegar, lemon juice, and a neutral pH dish soap. Baking soda acts as a gentle abrasive with some alkaline power to loosen baked-on oils without scratching. A paste made from baking soda and warm water is effective for stubborn grease in corners and around gaskets. White vinegar provides acetic acidity that helps dissolve oils and neutralize odors—useful for lingering smells like garlic or onion. Lemon juice adds a citrusy deodorizing lift and mild acidity that can accelerate breakdowns of oily residues. A splash of warm water with a tiny amount of dish soap and a gentle abrasive like baking soda creates a cleaning liquid that remains safe for most plastics when used in moderation.
To navigate safety and efficacy, consider a few guiding questions. What is the plastic type, and is it heat or chemical sensitive? PET containers tolerate warm water and mild cleaners but can warp with hot liquids. PS containers tend to be more brittle and less forgiving with heat. PP handles higher temperatures and rougher treatment but also benefits from gentler cleaners. PVC and other polymers carry other cautions, especially when oils or solvents are involved. The aim is to pick cleaners that align with your plastic’s tolerance and avoid anything that could degrade the surface, cause clouding, or leave a taste or odor.
Another practical question is the level of residue you’re comfortable with and how thorough your rinse should be. Even safe cleaners can leave faint residues if rinsing is incomplete. Rinse thoroughly with clean water, especially after acids like vinegar or lemon juice, to avoid lingering tangs or residues. Drying is equally important; air-dry on a clean rack in a ventilated space to prevent moisture from lingering and promoting odors. If a container has a gasket or hinges, pay extra attention to those areas during drying.
Some households opt for specialized, food-safe plastic cleaners designed for kitchenware. These formulations are usually neutral to mildly alkaline, free from phosphates and harsh detergents, and meant to be gentle but effective on plastic surfaces that touch food. They’re typically easy to use: apply, let sit briefly, scrub with a soft sponge, and rinse. For everyday use, such cleaners offer a convenient alternative to homemade remedies while maintaining a safety profile suitable for items that store meals. In many cases, a gentle, plant-based cleaner paired with a baking soda paste for stubborn spots provides a good balance of efficacy and safety.
In practice, you can build a dependable cleaning routine around a few safe agents. Start with a pre-rinse to remove loose fragments, then consider a quick warm-water soak with a small amount of mild dish soap. For stubborn residues, switch to a baking soda paste and apply with a soft cloth or sponge, focusing on greasy zones and around seals and gaskets where oils accumulate. Let the paste sit for a few minutes, then scrub gently and rinse. If odors persist, a brief spray or soak in a diluted white vinegar solution can help, followed by a thorough rinse. For deodorizing power, you can rub the interior with half a lemon or apply lemon juice solution and then rinse again. Finally, dry completely to prevent microbial growth in damp crevices.
This safety-minded approach is supported by general guidance on food-contact materials. Choose products that are safe for repeated contact with food, non-toxic when used as directed, and compatible with the various plastics used in kitchenware. Neutral or mildly alkaline cleaners are preferred because strong acids, bases, chlorine bleach, and many solvents can degrade plastic over time, affecting gloss, texture, or color and potentially leaching residues. Thorough rinsing and thorough drying remain essential components of the cleaning cycle.
A simple, repeatable toolkit helps maintain containers without introducing complex or unfamiliar chemicals. By sticking to a small set of safe cleaners and applying them with care, you protect the plastic’s integrity and keep food storage clean and odor-free. If a container shows signs of wear, clouding, or persistent odors despite diligent cleaning, replacing it is a prudent option. For readers who want to explore safety standards further, consult reputable guidance on food-contact materials from trusted agencies and manufacturers. In practice, a calm, methodical routine with safe cleaners is enough to keep plastic containers in good condition for daily use.
From Grease to Clarity: A Seamless, Science‑Driven Path to Scrubbing and Drying Greasy Plastic Food Containers
Grease on plastic containers does more than dull the surface. It embeds itself in micro-crevices, forms a haze that scatters light, and stubbornly sticks to the inner walls even after a quick rinse. In this chapter, we move beyond quick wipe-downs to a cohesive, science‑informed routine that restores transparency and extends the life of your plastic food containers. The goal is not merely to remove visible oil; it is to disrupt the physical and chemical forces that hold onto fats, oils, and bygone odors. A careful balance of heat, mild chemistry, and patient drying yields results that feel almost like new—clarity returned, odors quelled, and the container ready for reuse with confidence. The insights here draw on practical methods that have proven effective in contemporary food‑safety guidance, including the idea that oil residues form a spectrum of deposits that require both mechanical and chemical action to be fully displaced. A recent synthesis of best practices emphasizes that the most durable clean comes from a sequence that softens, dissolves, and dries in a way that minimizes recontamination and haze formation. As you read, picture the container as a micro‑ecosystem that benefits from a gentle opening act, a main cleaning act, and a quiet, thorough finish. The result is a container that looks clearer, smells fresher, and remains safe to use for storing foods once more.
The journey begins with softening the grease so that it yields to the next steps. Immediately after use, a quick warm rinse removes loose particles, and a warm soak begins the process of loosening more stubborn oils. The soak is not about brute heat; it is about controlled heat, designed to gently nudge the oils into a state where they can be emulsified and washed away without warping the plastic. In practice, fill the container with warm water just shy of a gentle 60 to 70 degrees Celsius, add a few drops of mild dish soap, and let it rest for 10 to 15 minutes. The warmth does more than relax the oils; it expands the micro‑pores in the plastic ever so slightly, enabling the surfactants to penetrate and loosen fat deposits. It is important to avoid boiling water, which can stress many common plastics and lead to warping or distortion over time. This initial step lays the foundation for the rest of the cleaning, and it also reduces the amount of manual scrubbing needed later.
With the grease softened, the selection of a cleaning agent becomes the next important decision. The aim is to break oil bonds with nonabrasive, food‑safe options that respect the integrity of the plastic while ensuring residue is removed. A baking soda paste offers a gentle yet effective abrasive action and has alkaline properties that help neutralize acidic oils. To prepare, combine 1 to 2 tablespoons of baking soda with enough warm water to form a thick paste. Apply it with a soft sponge or cloth, focusing on greasy areas and seams where oil tends to accumulate. Let the paste sit for 5 to 10 minutes, then scrub lightly and rinse thoroughly. Baking soda is particularly useful for baked‑on sauce stains or curries, where oil residues have had time to set. For a second option, a white vinegar solution can be employed. Its acidity helps dissolve grease and can subtly disinfect, making it a good accompaniment to the baking soda step. Mix equal parts white vinegar and water in a spray bottle, and apply or pour into the container, allowing it to rest for 15 to 30 minutes. Wipe or rinse afterward. A caveat: avoid using vinegar on colored plastics that might fade or dull over time.
Lemon juice stands as a natural deodorizer and mild cleaner, offering a citrus kiss that can help banish offensive odors such as garlic or fish. You can rub the inside with a halved lemon or mix its juice with water and soak for about 20 minutes before rinsing well. The aroma will be faint, but the effect on lingering odors can be noticeable. For routine cleaning, a neutral pH dish soap used with a soft sponge or microfiber cloth remains a reliable backbone of the process. Take care to wash all surfaces, especially edges and corners where grease can accumulate in tiny pockets. A thorough rinse is essential to prevent any soap residue that might alter the taste of foods stored later. And though this sequence sounds simple, the singular emphasis is on gentleness and patience; aggressive scrubbing with harsh abrasives can scratch the surface, increasing light scattering and future haze.
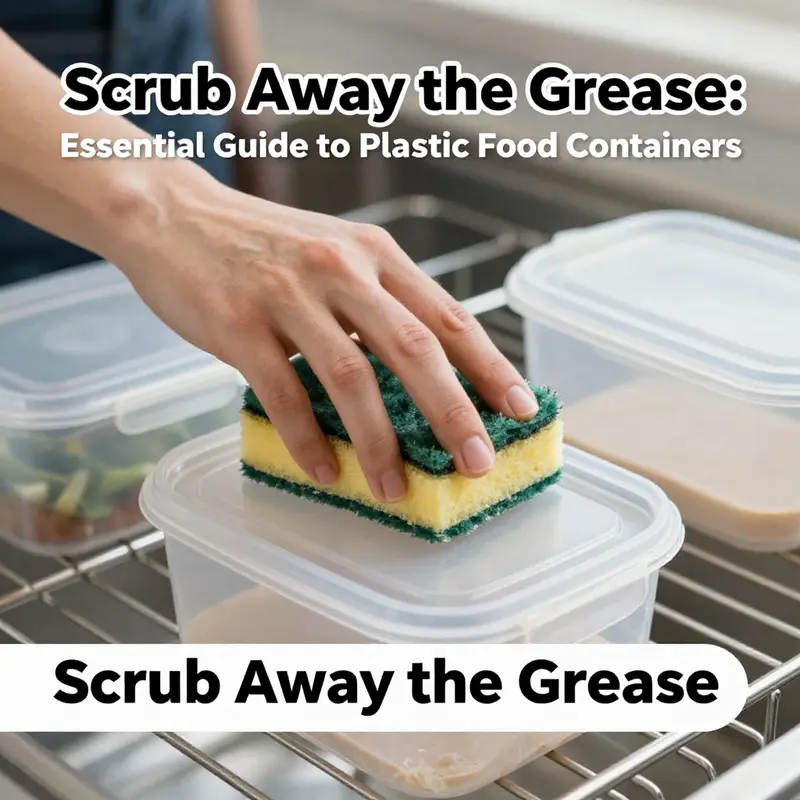
A key principle of this approach is to scrub gently but deliberately, using non‑abrasive materials. Soft microfiber cloths, non‑scratch sponges, and even an old toothbrush for stubborn crevices around gaskets and hinges can deliver the required precision without harming the plastic. Steel wool or scouring pads should be avoided at all costs, as they can create micro‑scratches that trap oils and become future hotspots for clouding and odors. The aim is to preserve the container’s smooth surface so that light passes through with minimal scattering, restoring clarity rather than merely masking grease with a superficial film.
Rinsing and drying complete the cleaning cycle. Rinse under running water until every trace of soap or vinegar is gone and no slippery film remains. Drying is not optional; it is the final, critical step that prevents the growth of bacteria and the formation of water spots that could attract new residues. The recommended method is to dry the container upside down on a clean rack in a well‑ventilated area. This positioning helps drain any remaining moisture away from seals and corners, where moisture trapped by imperfect gravity can create favorable conditions for bacterial growth. Air‑dry for at least two hours in a cool, shaded space, avoiding towels that may shed fibers or transfer bacteria from one surface to another. The practical effect of thorough drying is twofold: it minimizes microbial risk and reduces the chance that residual moisture will react with future oils, leaving the container looking and smelling fresher for longer.
If stubborn odors persist after the standard steps, monthly deep cleaning can help. Exposure to direct sunlight for one to two hours can leverage UV light to reduce lingering smells and precipitate mild disinfection effects. A small, activated charcoal packet tucked inside the empty, dry container for storage can further absorb odors over time. This optional step is not a substitute for regular cleaning but can complement the process when odors persist after ordinary washing. The underlying logic is simple: molecules that create odors are volatile and can be captured or degraded by light, heat, or adsorption. When combined with a clean interior, the result is a container that feels renewed and ready for a new cycle of use.
An important aspect of caring for plastic containers is recognizing how heat and age affect performance. The container’s plastic type influences how it responds to heat and detergents. For example, some plastics tolerate higher temperatures and rigorous cleaning cycles, while others are prone to warping or clouding if exposed to hot water or strong cleaners. It is essential to be mindful of checking the container for any signs of wear before you begin a cleaning routine. Replace containers that show cracks, warping, cloudiness, or persistent odors despite cleaning. Plastic degrades with time, and compromised containers can harbor bacteria in microcracks that are invisible to the naked eye. Keeping a mental log of which containers tolerate repeated washing and which do not will help you maintain a safer, more functional collection of storage options.
The practical execution of the steps above reveals a pattern: soften, dissolve, and dry. The softening step makes it easier for soap to work its magic; the dissolution step ensures oils separate from the plastic surface; and the drying step prevents new contamination and preserves clarity. Together, these stages form a cohesive routine that balances physical action with chemical assistance, all while respecting the material nature of plastic. It is this balance that allows you to reclaim the sense of cleanliness and transparency that first drew you to plastic food storage in the first place. The routine also aligns with careful guidance on protecting plastic containers from heat and harsh cleaners. While it is tempting to rush through a grease cleanup, taking the time to follow these steps thoughtfully yields better outcomes and longer container life.
To connect this practice to broader guidance, consider how the various steps address both the oil and the resulting haziness. The oil residue is not merely a surface film; it becomes embedded through repeated use and microscopic damage to the plastic’s surface, enhancing light scattering and cloudiness. By pairing hot water agitation with a gentle dish soap solution, you initiate an emulsification that breaks the oil into smaller droplets, which are then rinsed away. The baking soda paste adds a mild abrasive action that physically dislodges stubborn deposits without scratching. The vinegar or lemon options add acidity that can help dissolve fats and neutralize odors, though they require mindful use with colored plastics and overall surface integrity in mind. The flour pre‑treatment method, though less common, is an interesting demonstration of how a porous carbohydrate can physically attract oil molecules before conventional washing begins. While not a replacement for standard cleaning, it illustrates how pre‑treatments can reduce the load on subsequent steps and minimize haze formation when used correctly. The key is to apply these steps in a measured sequence that respects both the chemistry of oils and the physical realities of plastic surfaces.
From a practical standpoint, integrating these methods into a routine does not demand specialized equipment. It relies on ordinary kitchen supplies, standard water temperatures, soft cleaning tools, and a calm, methodical approach. The goal is to achieve a thorough clean without risking damage to the container’s structure. For most households, the hot water soak, followed by a baking soda paste treatment and a careful rinse, provides a reliable baseline. When odors are stubborn, the vinegar or lemon soak adds an extra edge. The flour method offers a playful, preventative pre‑treatment option that can be reserved for particularly oily containers or those that have seen frequent use with strong spices or fats. The emphasis throughout is on maintaining plastic integrity while maximizing cleanliness and clarity.
In the broader context of the article, this chapter serves as a bridge between the practical, step‑by‑step cleaning you perform at home and the longer‑term care that preserves the life of your containers. It is a reminder that a thoughtful cleaning process can prevent the clouding and odor buildup that so many households encounter after repeated use. The approach also supports ongoing maintenance principles, such as avoiding microwaving oily foods directly in plastic containers unless explicitly labeled microwave‑safe and avoiding exposure to boiling water or extreme heat, which can accelerate wear and increase the risk of chemical leaching. By keeping these cautions in mind, you can enjoy safer, clearer containers for longer and approach every cleanup with a sense of purpose rather than frustration.
For readers seeking a broader reference, a reputable university extension source has updated guidance on plastic container care as of 2026, reinforcing the value of a method that emphasizes both grease removal and surface restoration. This external resource provides a complementary perspective that aligns with the practices described here, offering additional context for why the steps work and how they protect plastic over time. External guidance like this helps anchor home practices in established food safety and materials science principles, ensuring that the care you give your containers is both effective and responsible.
Internal link note: for readers interested in related packaging options that can reduce waste or offer alternative storage solutions, a nearby collection of eco‑friendly packaging options is available here: eco-friendly disposable packaging options. This link points to a related category that expands on sustainable storage choices beyond traditional plastic containers, offering a broader view of how households can organize and store food with an eye toward both cleanliness and environmental impact.
In sum, the path from grease to clarity in plastic food containers is not a single sprint but a careful, cumulative process. Start with warm water and a gentle soak to soften oils, then apply a mild cleaning agent that matches your container’s resilience. Move to a careful scrub with non‑abrasive tools, rinse thoroughly, and dry completely in a vented space. If odors linger, introduce light, targeted interventions such as lemon or vinegar soaks, or a baking soda paste for stubborn residues. Occasionally, a flour pre‑treatment can reduce the load on the core cleaning steps. All along, respect the plastic’s limits, monitor for signs of wear, and replace any container showing damage or persistent odor. With these practices, your greasy plastic containers will regain their clarity, its oils will be tamed, and your food storage will feel fresh and safe once more.
External resource: https://extension.illinois.edu/food/plastic-container-care
Final thoughts
By applying these effective strategies, food service establishments can ensure their plastic containers remain clean, safe, and odor-free. Using proper pre-rinse techniques and safe cleaning agents not only extends the life of the containers but also elevates the dining experience for customers. Cultivating these best practices will reflect professionalism and a commitment to food safety that clients value. Remember, well-maintained containers are an indispensable asset to your business, contributing to your overall quality and reputation.