
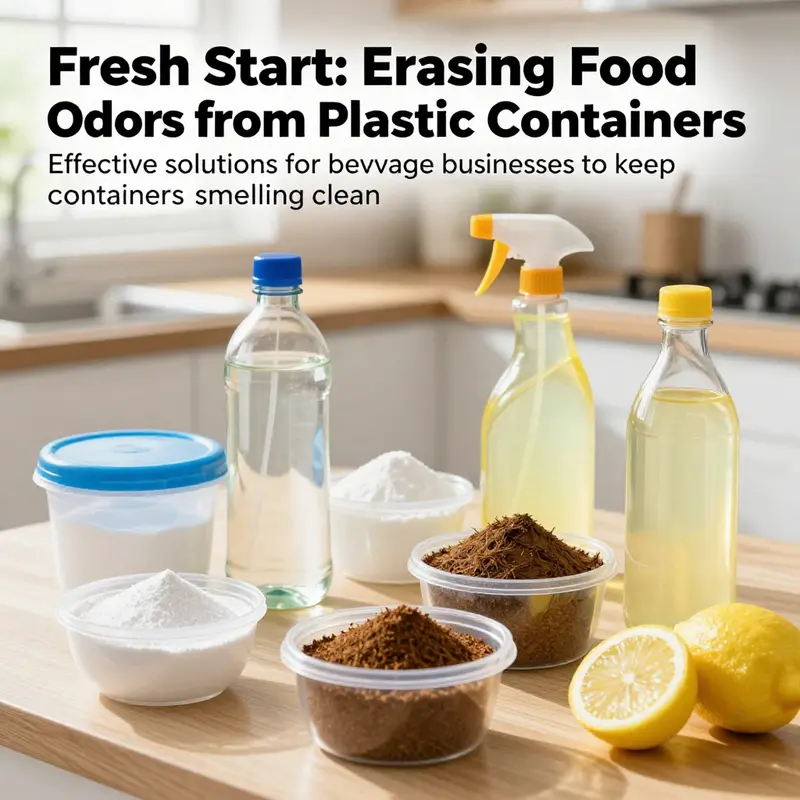
For Bubble Tea Shops, Restaurants, Food Trucks, and Catering Services, maintaining impeccable hygiene and freshness is crucial, especially regarding the containers that hold your delicious creations. Food odors can cling stubbornly to plastic containers, tarnishing the image of your establishment and leaving your customers with an undesirable experience. Whether it’s the lingering scent of strong spices or the sweetness of syrups, combating these odors is essential for your operation’s success. This guide will arm you with five highly effective methods—baking soda, vinegar, sunlight, tea or coffee grounds, and lemon juice—to banish these unpleasant scents and restore your plastic containers to their original fresh state. Dive into each chapter to uncover detailed applications and practical tips tailored for your business, ensuring you always put your best foot forward.
The Baking Soda Rejuvenation: Restoring Odor-Free Plastic Containers
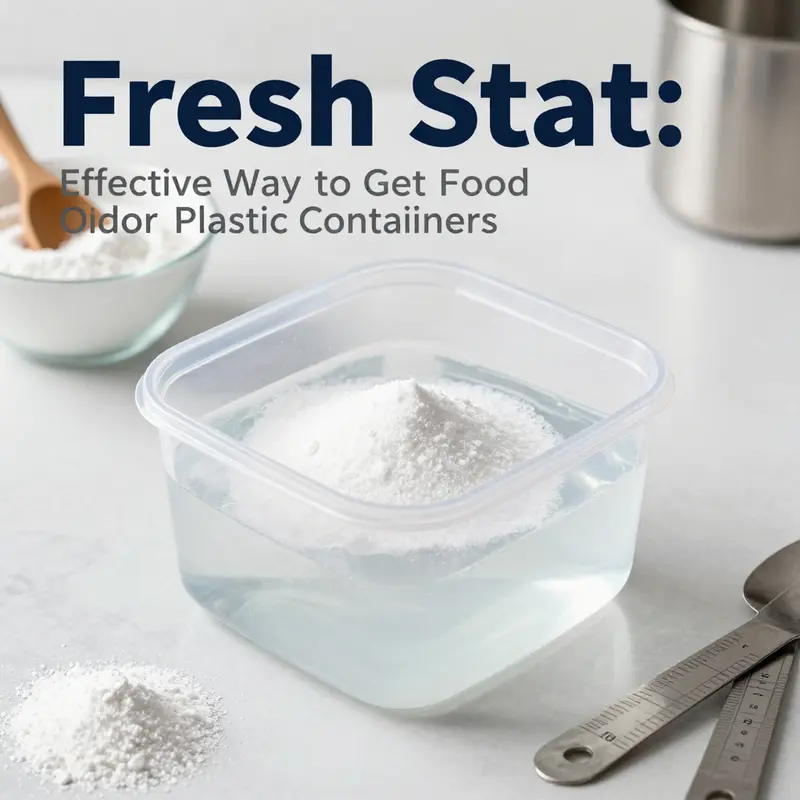
The stubborn odor of garlic, onion, curry, or lingering dairy can cling to the inside walls of plastic containers long after the last rinse. Plastic acts as a porous surface where odor molecules embed in tiny crevices. Baking soda provides a practical, chemical approach: a basic environment helps loosen residues and make odors easier to remove through washing. This method uses a simple soak, followed by a thorough wash, to restore scent-neutral containers without harsh solvents. To begin, mix one to two tablespoons of baking soda per quart of warm water. Submerge the container and its lids fully and let them soak for at least thirty minutes. For stronger odors, an overnight soak can improve results. After soaking, wash with dish soap and warm water, then rinse until the water runs clear. If baking soda grains remain, a second scrub helps. Dry the container completely before reuse. If odors persist, repeat the soak or extend the soaking time over a few days. After treatment, drying in sun or near a bright window can help reduce residual compounds; if sun exposure isn’t possible, a light rinse with lemon juice or mild white vinegar is acceptable in dishwasher-safe plastics. Short dishwasher cycles can also help, though hand washing is gentler on most plastics. Preventive habits include rinsing promptly after use, drying completely, and storing containers with lids slightly ajar to promote air circulation. For pungent foods, consider designating dedicated containers to minimize cross-contamination. The baking soda soak complements other odor-management steps and supports a sustainable, low-toxicity cleaning routine.
From Vinegar to Freshness: A Thorough, Practical Guide to Removing Strong Food Odors from Plastic Containers
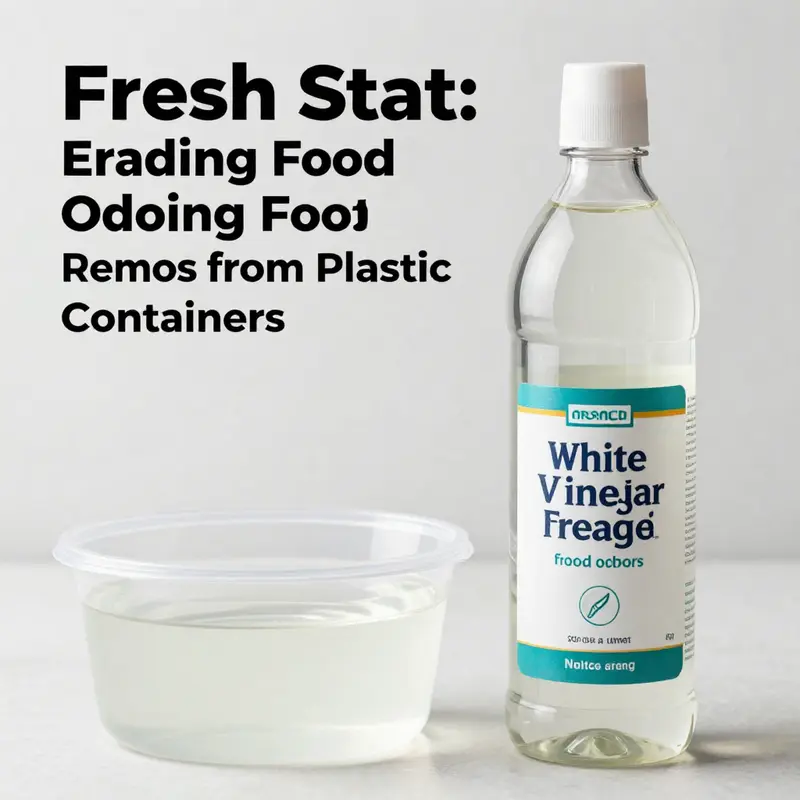
Odors lingering in plastic containers can seem stubborn, especially after storing oily foods, garlic, onions, or curries. The challenge isn’t just the smell; it is the way plastics can trap odor molecules within micro-pores and on oil films. A reliable approach combines chemistry with simple, readily available household ingredients. The centerpiece of many odor-elimination routines is white vinegar, because its acetic acid is capable of breaking down oily residues and neutralizing odor molecules that give food its distinctive, often sour or pungent character. This chapter walks through a scientifically grounded sequence that turns a once-stinky container back into a neutral-tasting, odor-free vessel. It respects the integrity of common kitchen plastics, avoids harsh chemicals, and emphasizes practical implementation so that readers can apply the methods in real life, quickly and safely.
The most effective starting point is a vinegar soaking method. Dilute white vinegar with water in a 1:3 ratio, which means one part vinegar to three parts water. This dilution is strong enough to tackle grease and complex odor compounds while remaining gentle on typical plastic surfaces. When you pour the solution into the container and seal it, you create an environment where the acetic acid can interact with oily residues without evaporating too quickly. Allow the solution to sit for at least two hours; overnight is ideal for particularly stubborn smells. During this dwell time, acetic acid penetrates micro-pores and disrupts the network of odor molecules that cling to the plastic. After soaking, it is crucial to rinse thoroughly—at least three complete rinses with clean water—to remove any residual vinegar. A lingering sour note from vinegar can transfer to food, and repeated rinsing minimizes that risk.
For containers with residual odors that resist soaking, a secondary step complements the vinegar. A baking soda scrub can be highly effective. Mix two tablespoons of baking soda with enough water to form a thick paste. The mild abrasive action helps physically dislodge oil films and, because baking soda is mildly basic, it disrupts acidic odor compounds. Gently apply the paste to both the interior and exterior surfaces with a sponge or soft brush. Let it sit for about 30 minutes, then scrub and rinse thoroughly. This dual-action approach—acidy neutralization from vinegar followed by abrasive removal from baking soda—often yields a cleaner surface than either method alone.
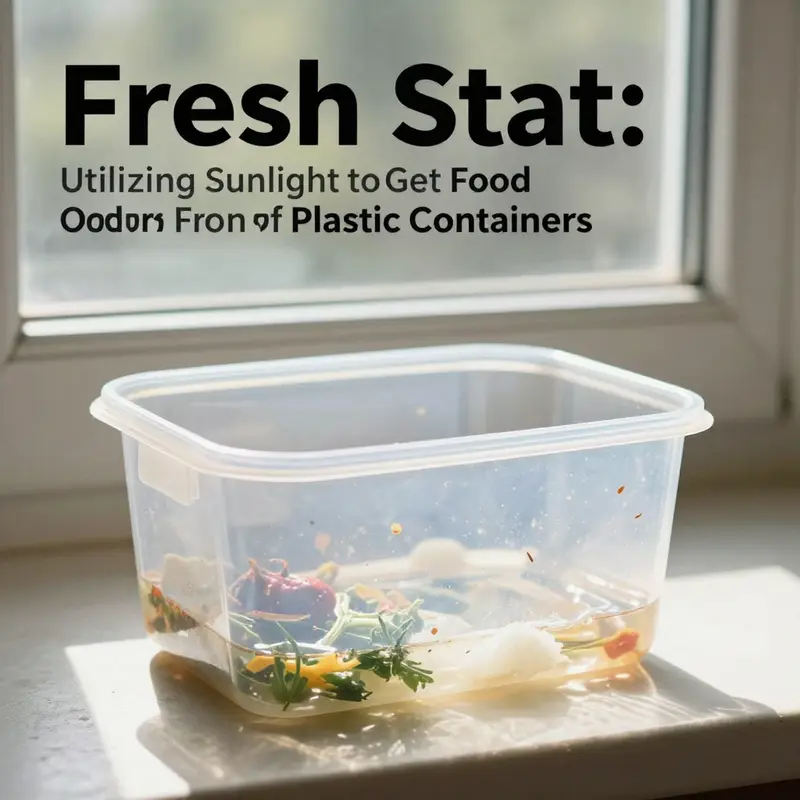
After the chemical and mechanical steps, exposure to light and heat can help released odor molecules escape more completely. Direct sunlight for a few hours—a period of 4 to 6 hours, with the container placed upside down—offers a practical UV and heat treatment. Ultraviolet radiation can degrade some organic odor compounds, while the warmth accelerates off-gassing from the micro-pores. This step is particularly helpful for nuanced odors left by curry, sauces, or lingering spices. It is important, however, to avoid prolonged solar exposure that could degrade certain plastics or cause warping, especially with thinner or cheaper containers. A quick check for any signs of deformity or excessive heat is prudent after such exposure.
Another strategy leverages the adsorption properties of porous materials—like coffee grounds. Place dry coffee grounds inside the clean container and seal it for about 24 hours. The grounds’ porous structure captures volatile odor molecules, including those generated by microwave reheating and other cooking processes. This step is especially useful when the odor is deeply embedded or when the container has a matte finish that can be stained by pigments. After this adsorption period, rinse the container again with a neutral detergent to remove any coffee residue and potential pigment transfer. Note that coffee pigments can stain some matte-finish plastics, so this method may alter appearance even if it does not affect function.
A lighter but still effective technique involves wiping with lemon juice. Mix fresh lemon juice with warm water in a 1:5 ratio and wipe the interior surfaces with a clean cotton cloth. The citrus oils, particularly limonene, not only help break down sulfur-based odors but also leave a pleasant, fresh scent. Lemon juice provides a gentle, food-safe finish that can complement the prior steps without adding harsh chemicals. As with the other methods, ensure the container is thoroughly rinsed after the wipe-down to prevent any tanginess from lemon juice from transferring to future contents.
The guidance above is not a single magic formula but a layered process designed to be adaptable. It is wise to consider container material and finish before starting. Some colored or painted plastics may fade when exposed to acid, even in diluted form, so avoid vinegar on those surfaces. Undiluted vinegar should never be used on stone or marble countertops and other non-plastic surfaces. After any treatment, a thorough rinse remains essential to prevent taste transfer or chemical residue. If a strong odor persists, repeating the cycle—soak, scrub, sunlight, and adsorption—often yields diminishing returns and should be balanced against the container’s integrity.
When combining methods, think of it as a sequence rather than a switch. Start with the vinegar soak to address the root cause—oil films and odor molecules lodged in micro-pores. Follow with baking soda to remove any residual films and to neutralize remaining acidity. Finish with sunlight exposure to encourage out-gassing of stubborn compounds. If needed, a final pass with coffee grounds can capture lingering particles that mechanical cleaning might miss. Finally, a lemon wipe can refresh the scent and provide a natural citrus note. The aim is to restore the container without leaving it tasting of any of the odors that plagued it, and without introducing new, unwanted residues.
For readers who maintain multiple containers or who refresh a family set, a practical touch is to consider ongoing preventive habits. Rinse promptly after use, especially after storing items with strong odors like garlic, onions, fish, or curry. If a container is going to be stored empty for a period, a light rinse or a short vinegar soak can preempt odor buildup. Store with lids ajar or use breathable liners after drying to reduce moisture traps that encourage odor formation. And for those who frequently switch between different foods, rotating containers that are used for the strongest scents can help keep the overall odor level down in the entire set. If you are refreshing a family set of storage containers, explore the relevant section of our storage containers collection to organize and streamline the process storage containers.
These methods are designed to be safe and practical for everyday kitchen use. They rely on common household ingredients and avoid harsh chemicals that could compromise plastic integrity or taste. The vinegar-based approach is central, but the supplementary steps provide resilience against the most challenging odors. By understanding why each step works—how acetic acid breaks down fats, how a mild base neutralizes acidic odors, how UV light accelerates molecular decay, and how porous materials trap odors—you gain a toolbox you can apply to any plastic container in your home. The keys are patience, careful observation, and a willingness to adjust the sequence to match the specific odor profile and the plastic’s characteristics.
For readers seeking deeper context beyond practical steps, the broader conversation about odor removal in plastics is well captured in established home care resources. A detailed external reference discusses various techniques, their rationale, and caveats, offering a broader perspective on how odor compounds behave in plastics and why certain approaches work better for particular smells. See the external resource for additional context: https://www.thespruceeats.com/removing-odors-from-plastic-containers-4147978.
In sum, white vinegar serves as a reliable, scientifically supported cornerstone for removing strong odors from plastic containers. When paired with methodical steps—soaking, gentle scrubbing, sunlight exposure, adsorption with coffee grounds, and a finishing lemon wipe—the approach becomes a flexible framework rather than a rigid recipe. This framework respects material safety, minimizes residue, and ultimately restores the sensory neutrality that makes plastic containers a reliable, reusable part of daily life.
null
null
Breathing Fresh Life into Plastic: The Tea and Coffee Grounds Odor-Absorption Method

To begin, gather used coffee grounds or dried tea leaves. Both work, but there is a small caveat worth noting: fresh grounds often contain more volatile compounds that contribute to their own aroma, and this can aid the absorption process somewhat, especially for strong kitchen odors. If you have a choice, use the freshest grounds you have on hand; if not, dry, well-used leaves or grounds still perform admirably. You want a substantial amount of absorbent material to cover the interior surfaces of the container, so plan on a generous layer rather than a thin scatter. The goal is to maximize contact between the odor-laden plastic and the absorbent matter so that the volatile molecules migrate into the grounds rather than lingering inside the plastic. Once you have your absorbent ready, sprinkle or press it inside the container so that it blankets the bottom and climbs up the sides, touching every interior surface as thoroughly as possible. A light, even layer is not enough here; think in terms of coating rather than merely lining. If the container has a narrow neck or a small fold in the lid area, consider letting the contents rest in a way that encourages the grounds to move into those harder-to-reach spots without forcing them through crevices that could be difficult to rinse later. The practice here is not to soak the container but to fill it with the absorbent so it can actively contact the odorous surfaces while remaining dry enough to avoid mold. A thorough approach to coverage is essential for deeper odors, especially those that have taken root within the plastic’s microstructure. This is where the science of adsorption aligns with practical cooking routines. By ensuring the interior is well coated, you maximize surface interaction and, in turn, odor transfer from the plastic to the grounds. After preparing the absorbent, place the container in a stable area where it can sit undisturbed for the majority of the waiting period. The recommended duration is at least 12 hours. Overnight is preferable for most households because it allows the absorbent to act during a long, undisturbed stretch. This extended contact time increases the likelihood that odor molecules will migrate from the plastic into the grounds, resulting in a noticeably fresher interior by morning. The duration is not a hard deadline, but extending beyond 12 hours usually yields diminishing returns relative to effort; however, if you are dealing with a stubborn odor, an overnight resting period can still be worth it. When the waiting period ends, you discard the coffee grounds or tea leaves. Do not reuse them for cooking or other purposes in a way that might reintroduce aromas, and avoid composting them if your goal is to eliminate kitchen odors from containers. The next step is critical: rinse the container thoroughly with warm, soapy water. Warm water helps loosen small particles that may cling to the interior fibers, while soap breaks down residual oils and lingering aromatic compounds. A good rinse with a mild dish soap, followed by a thorough rinse, should leave the container smelling clean and free of the absorbed odors. A final air-dry or towel-dry ensures any remaining moisture is gone before you store or reuse the container. This sequence—covering the interior with absorbent material, letting it sit, discarding the used grounds, rinsing with warm soapy water—constitutes the practical workflow behind the method. Cleaning experts and material scientists alike emphasize that simple surface washing may not fully address odors tied to residues trapped within the plastic itself. The grounds address that gap by pulling odor molecules away from the resin interior and into the absorbent. When you combine this step with a conscientious wipe-down and a careful drying phase, you create a more comprehensive deodorizing routine that tackles both surface odors and those embedded within the container’s microstructure. If you are thinking about the long-term practice, there is also a preventive dimension to consider. Avoid storing particularly aromatic foods in plastic containers for extended periods. Aromatic ingredients often linger and compound, making future cleaning more challenging. Whenever possible, you might turn to glass or ceramic containers for foods with strong odors, since these materials are less prone to odor retention and can make cleaning easier in the long run. You can also pair odor-control practices with a regular schedule of container maintenance—soaking occasionally in a dedicated mild cleaning solution, followed by a thorough rinse and dry—so that the interiors stay nutritionally and aromatically neutral. In addition to the direct deodorizing steps, consider how you store and organize your containers. A well-ordered storage system reduces the chance of cross-odor transfer and helps you keep track of which containers have had absorbent treatments and which have not. Integrating the approach with a broader storage strategy—such as using dedicated containers for different types of foods and ensuring lids are clean and dry—can enhance overall cleanliness and odor control. For readers looking to explore more about storage options and related products, you can browse the storage-containers category to find designs and materials that better resist odor retention and offer improved sealing. storage-containers. While the focus here is on a natural, low-cost deodorizing method, it can be a practical companion to other proven steps in odor management, including thoughtful material selection and careful cleaning routines. If you wish to deepen your understanding of the broader cleaning landscape, the detailed guidance available from reputable sources emphasizes combining multiple strategies for long-term odor control.
When you reflect on the method’s place in the larger cleaning toolkit, you can appreciate how it complements the everyday reality of a busy kitchen. It is not a substitute for good washing, but rather a valuable addition that addresses odor molecules that hide in the micro-pores of plastic. The approach aligns with a broader philosophy of gentle, sustainable cleaning: use natural materials that do not introduce harsh chemicals, and give them time to work. It’s a reminder that simple household resources—things already in your kitchen—can be repurposed to restore freshness without resorting to aggressive solvents or complex procedures. If you combine this technique with mindful storage choices and a habit of timely cleaning, you lay a foundation for odor-resistant containers that serve you well over years of daily use. For readers who want a more stepwise, technical understanding of why absorbents work so effectively, broader cleaning guides and material science insights emphasize how porous organic substrates create more surface area for odor molecules to interact with, thereby reducing the concentration of volatile compounds in the container’s interior. This knowledge helps explain why tea and coffee grounds, with their textured, fibrous surfaces, are particularly well-suited for this purpose. The method is not a cure-all, but it is a simple, accessible, and scientifically sound option that many households find both practical and satisfying.
In closing, the tea-and-coffee-grounds odor-absorption approach offers a gentle, effective path back to fresh-smelling plastic containers. It leverages natural materials and patience to address odors at their source, rather than merely masking them with perfumes or temporary fixes. When integrated with careful washing, appropriate material choices, and mindful storage, this method becomes part of a cohesive strategy for keeping your kitchen containers clean, odor-free, and ready for whatever your next meal or snack may bring. External resource: https://www.cleanipedia.com/laundry-and-home/clean-plastic-containers.html
Lemon Power for Plastic Containers: A Fresh, Effective Odor-Removal Approach
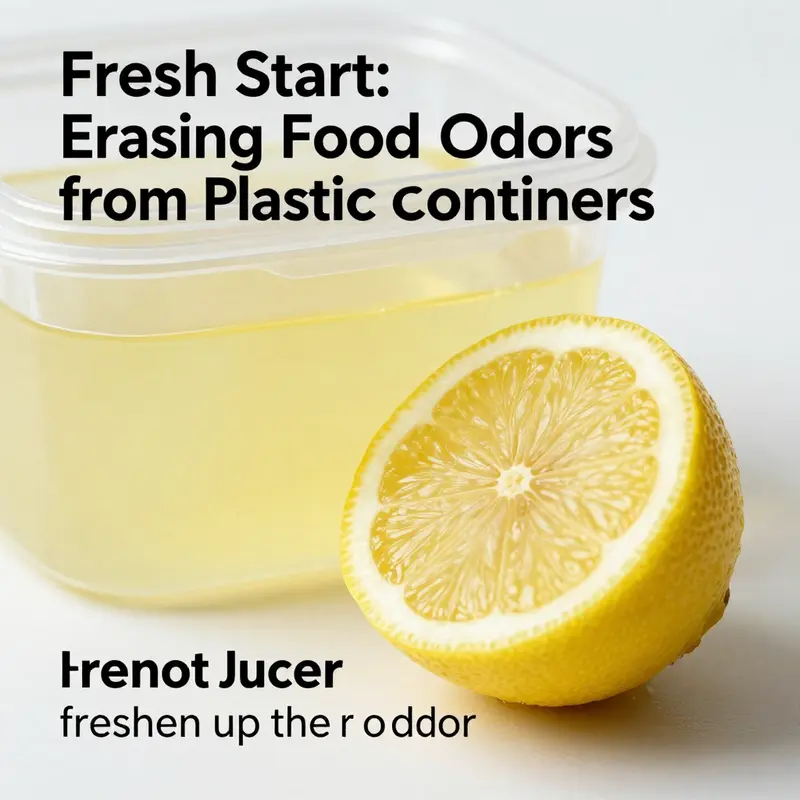
Plastic containers hold more than meals; they carry memories of the foods we have stored, and sometimes those memories persist as odors even after cleaning. The problem is not just the smell itself but the way plastic surfaces trap and slowly release volatile molecules. In this context, lemon juice emerges as a practical, science backed solution. Its power comes from citric acid, a natural degreaser that can break down the fatty residues left behind by oily or dairy rich foods. When these residues are disrupted, the odors they nurture lose their grip on the container. The citrus aroma that lemon leaves behind is not only pleasant; it can also help mask faint remnants while the cleaning action completes its work. What makes lemon especially useful is that its cleaning action is chemical rather than merely cosmetic. It changes the state of the residues at a molecular level, making removal easier and reducing the chance that odors will rebound once the container dries. This is not about perfuming a container; it is about neutralizing the very compounds that create that stubborn, lingering scent.\n\nAt the heart of lemon cleaning is a straightforward, repeatable routine that fits into everyday cooking lives. You will need freshly squeezed lemon juice, warm water, and a small amount of mild dish soap. Fresh juice is preferred for two reasons: it avoids preservatives that might interact with certain plastics, and it carries the highest concentration of citric acid. Start by preparing a gentle cleaning solution: combine lemon juice with warm water and a few drops of soap. The warmth helps the acidic components interact more effectively with the residues, while the soap provides the surfactant action that lifts and suspends dirty particles. Dip the container in the solution or apply the solution to the interior with a soft sponge. Let it sit for about 15 to 30 minutes. This soaking period matters because it gives the citric acid time to penetrate tiny pores and break down the stubborn film that regular washing might miss. After soaking, wipe the container with the sponge and gently scrub, paying particular attention to areas that tend to collect grime—corners, ridges, and the lid seal. A soft sponge or microfiber cloth is ideal because it cleans without scratching. Rinse thoroughly under clean, running water to remove all lemon residue, which could otherwise develop a new, mild citrus scent if trapped and heated during drying.\n\nFor some containers, especially those that have housed spicy or deeply aromatic foods, extra attention may be warranted. If the smell persists, intensify the approach without overdoing it. You can reapply the lemon solution and extend the soak to the upper end of the recommended window, or you can reintroduce a short heat-assisted step. A helpful technique is to place the container upside down in a bowl of hot water with lemon juice. The steam helps lift odors from tight spaces and the heat accelerates the diffusion of molecules away from the plastic surface. This is a gentle method; avoid boiling or exposing plastics to high heat for extended periods, which can warp or weaken certain varieties of plastic. If you notice any clouding, hazing, or distortion after using lemon juice, discontinue that line of cleaning and switch to a milder approach. In most cases, regular lemon washing with careful rinsing will restore a fresh feel and scent without compromising the container.\n\nBeyond odor remediation, the lemon approach carries several practical, everyday benefits. It requires only pantry staples, costs little, and produces no toxic fumes, making it a friendly option for frequent users. The method aligns with broader habits of minimalist cleaning—use what you already have in your kitchen rather than stocking a separate bottle of industrial cleaners. Using lemon juice also supports a kitchen environment that is easier to maintain over time. When combined with other natural methods from this series such as a baking-soda step for more stubborn odors, exposure to sunlight to refresh color and odor from porous surfaces, or the use of tea or coffee grounds for their deodorizing properties, the lemon technique becomes part of a flexible toolkit rather than a one-off fix. Each approach targets different aspects of odor and residue, allowing you to tailor a routine to your containers and your schedule.\n\nPrevention plays a crucial role in keeping containers odor-free after the lemon cleansing cycle. Promptly sealing and refrigerating or properly drying items reduces the chance that odors will rebind to the plastic. Rinse thoroughly, then air-dry the interior completely before placing the lid on. Store containers in a well-ventilated area, and whenever possible, leave lids slightly ajar during storage to promote air circulation. If odors reappear after typical use, consider alternating your cleaning method to address residues that lemon alone cannot fully neutralize. For ongoing maintenance, incorporate a light, periodic lemon wash into your routine, rotating with other methods to address various kinds of residues. This approach preserves the integrity of the container and keeps odors from taking root again.\n\nFor readers seeking a broader view of storage options and container care, you can explore related content in the storage containers category. This page offers additional ideas for selecting durable, nonreactive options that suit diverse foods and lifecycles. storage containers\n\nIn closing, lemon juice provides a natural, effective, and accessible means of restoring freshness to plastic containers. It rests on a straightforward chemical principle: introduce an acidic environment to loosen greasy residues and neutralize malodorous compounds, then rinse away the resulting mixture. The method respects the material limits of common plastics, minimizes chemical exposure, and leaves room for layered cleaning strategies when odors prove stubborn. It is a practical example of how a simple pantry staple can translate into improved kitchen hygiene. For readers who wish to verify practical guidance beyond hands-on cleaning, reputable health resources offer additional context on safe kitchen practices and surface cleaning. External resource: https://www.mayoclinic.org/health-and-wellness/healthy-living/food-safety-and-handwashing/healthy-ways-to-clean-kitchen-surfaces-and-utensils
Final thoughts
In conclusion, maintaining a fresh and odor-free environment in your food service operations is paramount. By employing these effective methods—baking soda, white vinegar, sunlight, tea or coffee grounds, and lemon juice—you can tackle any lingering food odors with confidence, ensuring your plastic containers enhance rather than detract from the quality of your beverages. Regular maintenance and proactive cleaning will not only preserve the integrity of your containers but will also reflect your commitment to quality and hygiene in the eyes of your customers. Remember, a fresh start with spotless containers can make all the difference in delivering an exceptional dining experience.