
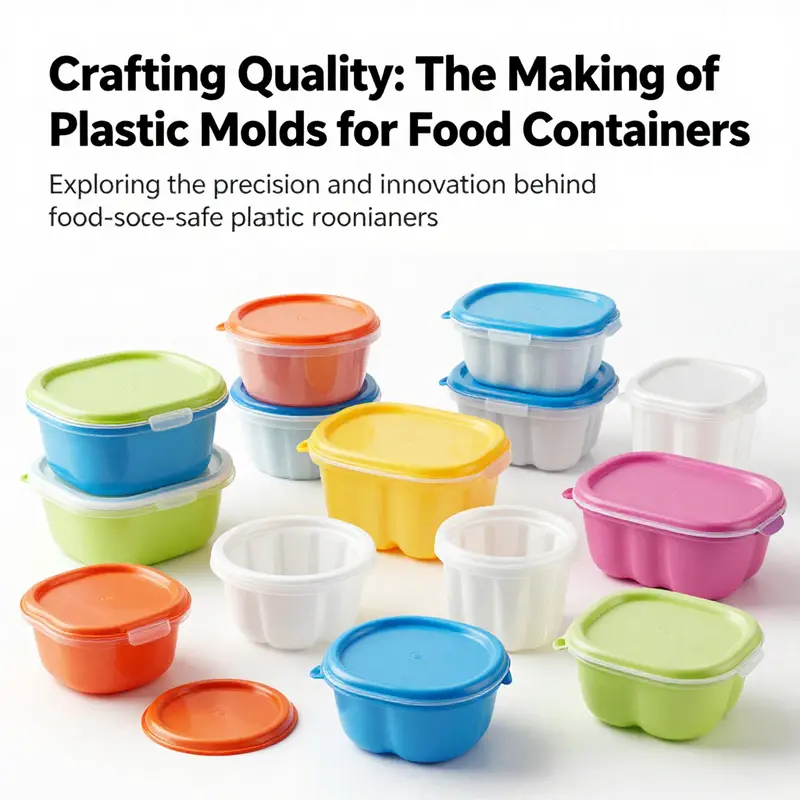
In the food service industry, the quality of packaging can greatly influence the customer experience, especially for businesses like bubble tea shops, restaurants, food trucks, and catering services. Understanding how plastic molds for food containers are crafted not only reveals the intricacies of modern manufacturing but also ensures that products are food-safe, durable, and visually appealing. This article uncovers the journey from designing the mold to the final injection molding process, detailing each phase crucial to producing reliable plastic containers tailored for your food service needs.
From Idea to Blueprint: Preliminary Design Steps for Food-Grade Plastic Molds
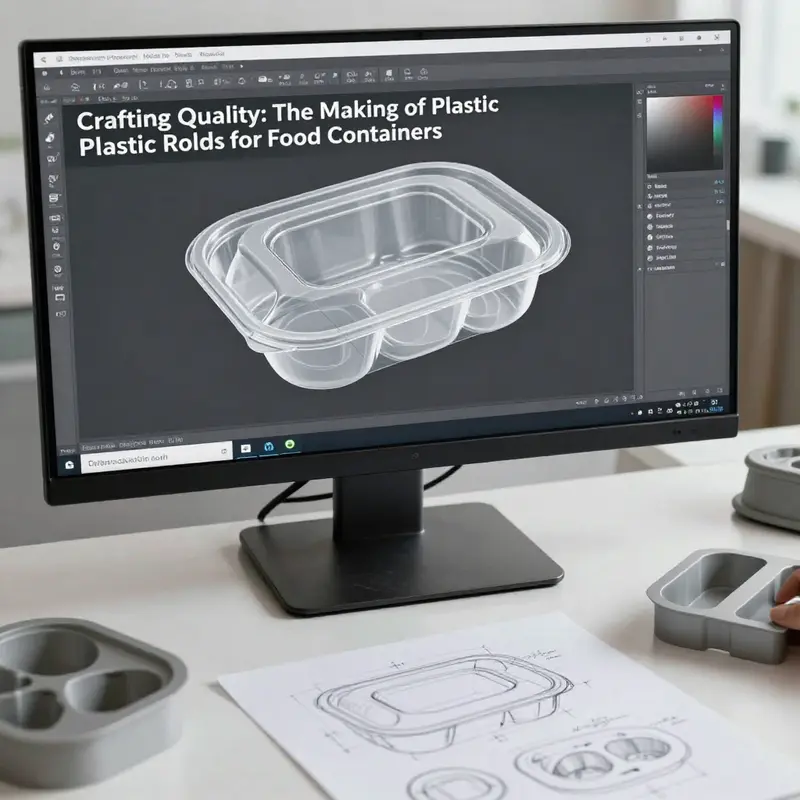
Preparing the Ground: essential decisions that shape every food-container mold
Designing a plastic mold for a food container begins long before the first block of steel is cut. It begins with a precise definition of what the container must do and how it must behave throughout its life cycle. This chapter walks through the preliminary steps engineers and designers use to convert a market need into a manufacturable mold design. The aim is to show how early choices—use case, material, geometry, and simulated behavior—determine the final tool’s complexity, cost, and compliance with food-safety requirements.
A clear, detailed product brief is the project’s compass. The brief defines intended use: storage, hot-food service, microwave reheating, freezer storage, or single-use takeaway. Each use case imposes different demands on material performance and mold features. A container meant for hot food will need a resin with higher heat resistance and controlled shrinkage. A stackable storage tub prioritizes dimensional accuracy and consistent wall thickness to avoid warpage when stacked. The brief also lists size and volume, required closures such as snap lids or integrated hinges, aesthetic requirements like gloss or texture, and functional features such as pour spouts or compartments. Early decisions on these points reduce rework later. They also drive regulatory checks, packing logistics, and end-of-life considerations such as recyclability.
Food-contact compliance is non-negotiable. Designers must select resins cleared by relevant authorities. Guidance often references the U.S. Food and Drug Administration or the European Food Safety Authority. Resins must resist leaching under expected temperature ranges and food chemistries, including acidic and fatty foods. This also influences additives: colorants, stabilizers, and slip agents can change migration behavior. Engineers must specify only food-grade additives and document suppliers and certifications. Traceability requirements mean the mold design should allow surface finishes that can be validated and cleaned, and gating systems that minimize trapped material and reduce sites where food residues could accumulate.
Material selection follows the product brief and compliance screening. Common choices for food containers include polypropylene for microwaveable and rigid lids, polyethylene for flexible films and some tubs, PET for clear, high-barrier containers, and polystyrene for rigid but lower-heat applications. Each resin has a distinct shrinkage rate, melt flow behavior, and sensitivity to cooling. Selecting the resin early enables accurate wall thickness design and shrinkage compensation in the mold pattern. It also determines gate and runner design, since melt viscosity dictates how the polymer will flow into complex features.
Geometry and manufacturability are addressed together in conceptual CAD models. Designers produce a 3D digital prototype that captures exterior appearance, interior volume, wall thickness distribution, and functional interfaces with lids or other parts. Good CAD work anticipates mold constraints. For injection molding, designers incorporate draft angles, typically between one and two degrees, to allow parts to eject cleanly without scuffing. They avoid undercuts unless they plan for side actions or lifters in the mold. Uniform wall thickness reduces sink marks and internal stresses; ribs and bosses are dimensioned to support structure without creating local thick sections that cause sink. Finer details like sealing lands for lids, snap-fit overlaps, and stacking features are modeled so the final part meets user demands.
Wall thickness strategy merits special attention. Too thin and the part may short-shot or be weak. Too thick and the part may warp or develop sink marks. The acceptable thickness range depends on resin and container function. Designers often use controlled thickness transitions and place reinforcing ribs to avoid increasing base thickness. Bosses and threaded features are designed with hollow cores or metal inserts when repeated torque or higher strength is required. Every thickness decision cascades into the mold cooling design and cycle time expectations.
Once CAD geometry stabilizes, mold flow simulation becomes the virtual proving ground. Mold flow analysis predicts how molten plastic fills the cavity, where air traps might form, and where weld lines or knit lines will occur. Simulations allow engineers to test multiple gate locations and runner configurations without costly physical trials. They also reveal areas prone to weld lines, which can weaken seals or create visible defects. Cooling channel layouts are simulated to optimize cycle times while maintaining uniform cooling to reduce warpage. The virtual testing phase frequently reveals minor geometry changes that dramatically improve manufacturability. It also helps size vents that will prevent burn marks and identify melt temperatures and injection speeds that minimize shear-induced degradation of the polymer.
Gating and runner strategy are outcomes of flow analysis and production goals. The gate type—sprue, edge, pin, or submarine—affects part aesthetics and strength near the gate area. For food containers, gate placement often targets less visible areas or locations where post-processing trims are acceptable. Balanced runner systems and multi-cavity molds require careful symmetry planning to ensure even fill and part-to-part consistency. Hot-runner systems reduce waste and cycle time but add cost and maintenance considerations. Designers weigh production volumes, scrap tolerances, and ease of maintenance when specifying gating systems.
Tool steel selection, core and cavity splits, and intended surface finish are preceded by the part and process decisions above. The mold’s cavity surface must meet finish requirements that influence cleaning and release performance. High-gloss containers require mirror polishing of the cavity, while matte textures are produced by blasting or engraving textures into the tool. Texturing choices also mask small imperfections and affect the way consumers perceive the product. Textures should be chosen with hygiene and cleaning in mind; overly deep textures can trap residues. Heat treatment and hardness levels of the tool steel are specified based on projected shot counts and abrasive fillers that might be present in certain polymer grades.
Prototyping is a practical, low-risk stage where designers validate fit and function. Rapid prototyping techniques such as 3D printing or soft-tool aluminum molds allow testing of ergonomics, lid fit, and stacking behavior. Functional prototypes give stakeholders a tangible product to evaluate while the final steel mold is still being built. These trials reveal real-world issues that simulations miss, such as human interaction quirks or lid alignment under thermal cycling.
Documenting tolerances and quality checkpoints during the preliminary design phase streamlines later inspection and production validation. Critical dimensions, such as lid sealing faces and snap-fit geometries, receive tighter tolerances. Inspection plans link these critical features to appropriate measurement methods, including coordinate measuring machines for dimensional checks and surface profilometry for texture validation. Acceptance criteria for cosmetic defects, warp limits, and leakage testing are set so the first production runs can be assessed against objective standards.
DFA and DFM principles are woven into every decision. The goal is a design that is efficient to manufacture and easy to assemble, if applicable. Designers reduce part complexity, limit the number of separate pieces, and ensure features support consistent automated handling. For example, consistent ejector pin placement and draft angles ease automation in high-volume runs. Consideration of downstream packaging and palletization also shapes wall thickness and container geometry to maximize space and minimize packaging waste.
Finally, preliminary design work includes long-term considerations. Recyclability of the chosen resin affects end-of-life handling. Designing for disassembly, or choosing common materials between lid and base, can improve recyclability. Designers also plan for expected maintenance cycles of the mold, specifying wear parts and accessible channels for cleaning. Risk registers list known manufacturing challenges, such as potential weld lines near critical seals, and outline mitigation steps.
Taken together, these preliminary steps reduce surprises when the mold is manufactured. Decisions made at this stage dictate tool complexity, production costs, and the container’s performance. By integrating user needs, material science, CAD precision, flow simulation, and regulatory compliance early, teams avoid costly redesigns and achieve food-safe containers that meet both consumer expectations and production realities.
For an authoritative overview of engineering considerations in mold design, refer to guidance from the American Society of Mechanical Engineers: https://www.asme.org/topics-resources/content/designing-plastic-molds-for-food-containers
For a practical example of a food-grade container design used in the market, see this reusable square salad bowl with a PP lid that illustrates many of the features discussed above: https://cupbowlpack.com/product/senang-130-disposable-eco-friendly-food-grade-reusable-square-salad-bowls-with-pp-lids-for-pet-food/
From CAD to Cavities: The Precision Craft Behind Plastic Molds for Food Containers
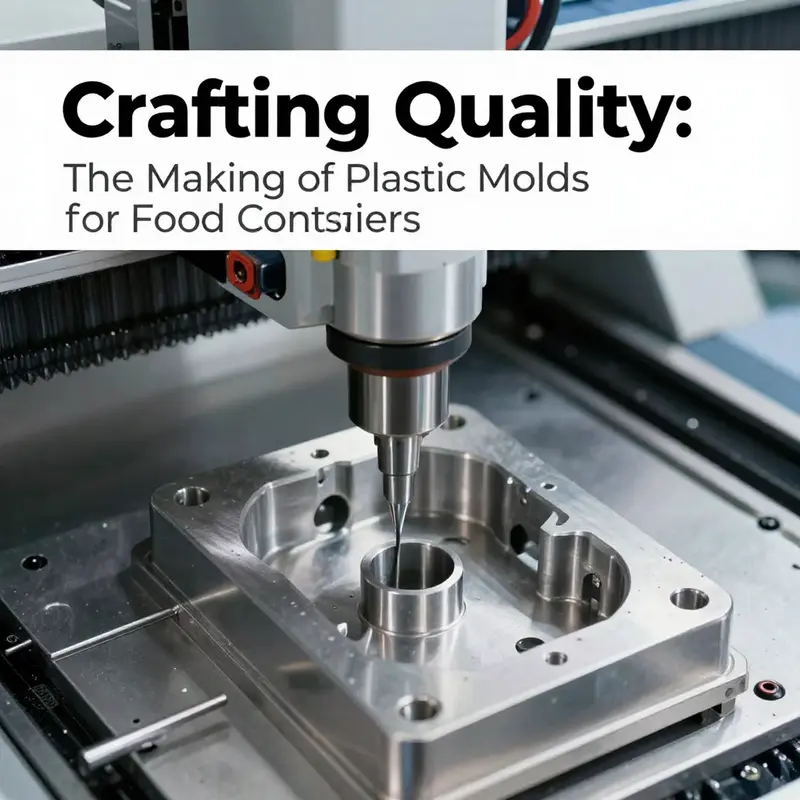
The journey of a plastic mold for food containers begins well before the first cut is made. It starts with a concept, a shape that must balance ergonomics, stackability, and sanitation with the realities of high-volume production. Engineers translate that concept into a precise, data-driven blueprint using computer-aided design (CAD). The CAD model becomes the single source of truth for every subsequent operation, from the geometry of the cavity where plastic will form to the core that defines the container’s exterior. In the world of molds, accuracy is not a luxury; it is the backbone of repeatability, ensuring that thousands or even millions of pieces produced on a single line retain the same dimensions, wall thickness, and critical features year after year. The mold is thus not a simple casting but a complex instrument whose tolerance stack and surface quality determine the end product’s fit, seal, and safety for food storage and packaging.
The mold itself is built from two primary elements—the cavity and the core—mirror images that come together to form an empty space into which molten plastic will flow. The cavity replicates the interior geometry of the container, dictating dimensions that influence volume, sealing surfaces, and how the finished part will release from the mold. The core shapes the exterior, defining the container’s profile, handle recesses, and any curvature that affects stacking, grip, and appearance. Achieving flawless interaction between these two components demands a navigation of tight tolerances and pristine surface finishes. With every feature, from the thinnest wall to subtle fillets, there is a risk of stick, mismatch, or improper release if the machining process veers off course. Therefore, the machining sequence is planned with a conductor’s precision: it must harmonize geometry, strength, and longevity under repetitive cycles of high-pressure injection, rapid cooling, and abrasive contact with hot plastic.
Material selection for the mold is a decision that ripples through the entire lifecycle of the tool. For high-volume production lines where longevity is demanded, steel alloys are the workhorses. Commonly employed grades such as P20, H13, and S7 are chosen for their balance of hardness, toughness, and ability to hold tight tolerances after heat treatment. These steels respond well to finishing processes that yield low surface roughness and resistance to wear from repeated injections and friction during ejection. The machinist’s toolkit for steel molds includes precision CNC milling and EDM, often used in tandem to sculpt complex geometries and undercuts that ordinary milling cannot cleanly reproduce. EDM’s spark erosion capability creates sharp corners and precise cavities without causing the micro-deformations that can accompany aggressive mechanical cutting. This combination allows for the accurate formation of micro-features that matter for seal surfaces, venting channels, and intricate ejector mechanisms.
Aluminum, by contrast, is favored in prototyping and low-to-medium-volume runs where speed, cost, and cycle time reductions are paramount. Aluminum’s natural machinability lets shops rapidly produce and test mold halves in days rather than weeks. The material’s light weight also translates to easier handling during assembly and maintenance, which can lower downtime and labor costs. For injection molding, aluminum contributes thermal advantages as well: higher thermal conductivity means faster heat transfer, quicker cooling, and shorter cycle times. A glossy, smooth finish is more readily achievable with high-quality polishing on aluminum surfaces, which helps in initial tests and concept validation. However, aluminum can wear faster when exposed to abrasive plastics or high-temperature formulations, so it is typically reserved for trials or limited production runs rather than the most demanding, long-run applications.
Bronze alloys play a specialized but vital role in areas of the mold that endure the greatest wear. Ejector pins, cores, and certain inserts benefit from bronze’s galling resistance and enduring surface integrity. Bronze reduces the risk of scoring and micro-welding between moving parts, preserving tolerances through hundreds of thousands of cycles. Machining bronze requires care and discipline; it often entails specialized techniques to keep dimensions stable and surface finishes uniform. Finishing steps—such as mirror polishing or nitriding—are more than cosmetic in this context. They provide hygienic benefits and enhanced resistance to corrosion and wear, which are critical for molds used with food-grade plastics where surface cleanliness and repeatable release are non-negotiable.
The choice of machining technique is guided by both the material and the expected production volume. For steel molds, precision CNC milling lays down the primary geometry, including deep cavities, complex pockets, and threads for inserts and hot-runner systems. When the geometry includes features that defy conventional milling—undercuts, intricate radii, or precise lattice-like textures—electrical discharge machining (EDM) takes the lead. EDM uses electrical sparks to erode conductive material with superb accuracy, enabling corner radii and transitions that would otherwise require multiple setup changes or aggressive tool paths. Wire EDM can carve fine contours and flat surfaces that demand exactness, preserving flat mating surfaces for core and cavity alignment. The material’s hardness often necessitates EDM before final finishing so that subsequent polishing does not erase the delicate geometry.
Aluminum molds rely on similar die-making fundamentals but leverage the material’s machinability to shorten lead times. Conventional CNC milling can produce the major contours quickly, after which finishing steps bring the surface to the desired gloss and smoothness. For prototypes, rapid iterations of the same cavity can be produced to test gate locations, fill patterns, and flow dynamics. Surface finishing on aluminum often includes high-grade polishing to achieve a mirror-like finish, which reduces friction during part ejection and supports the initial, non-laminated test runs. The ability to polish aluminum to a near-perfect surface is not just about aesthetics; it materially affects how a part releases, the likelihood of sticking, and the consistency of the surface that comes into contact with the food packaging material.
In high-wear zones, bronze inserts or sleeves are a common remedy to extend mold life. The alloys tolerate repeated contact with molten plastics and high friction without exhibiting rapid wear, which would otherwise alter tolerances and degrade part quality. The integration of bronze into these critical areas often requires precision fits and tight tolerances; thus, dedicated finishing processes—such as advanced polishing or even nitriding—are employed to stabilize the surface. The end result is a mold that maintains dimensional integrity over extended production runs, reducing the risk of dimensional drift that could compromise seal integrity or part release.
After the machining and finishing stages, the mold is assembled into a full tool. Assembly is not a passive step; it is a careful alignment exercise where the core and cavity halves must close with exactitude, and any gaps or misalignments are detected before the first molten plastic is introduced. The mold is then mounted on an injection molding machine, a separate piece of equipment that operates with astonishing precision: molten polypropylene or polyethylene enters the mold under high pressure, fills every nook of the cavity, and begins to harden as it cools. The cycle time—the combination of fill, pack, dwell, and cooling—depends on many factors, including the material’s viscosity, the mold’s cooling channels, and the thermal conductivity of the mold itself. Aluminum’s faster cooling helps shorten cycles in a test environment, but production lines that demand long runs will often switch to steel molds to withstand wear at sustained high pressures and temperatures.
A key aspect of the process is how the mold’s surface quality translates into product quality and safety. Food containers demand low surface roughness to prevent particulate detachment and to facilitate cleaning. Texturing is used judiciously: where release is critical, a very smooth surface minimizes friction; in other sections, a controlled texture can optimize release or help the part slide out without sticking. Polishing must be calibrated with the intended plastic, as some polymers exhibit stronger adhesion to certain surface finishes. Surface treatments such as nitriding—especially on steel molds—enhance hardness and corrosion resistance, while maintaining a clean, food-safe interface that withstands autoclaving or repeated washing where applicable. The hygiene dimension cannot be overstated; surface cleanliness and the absence of microscopic crevices that can harbor residue are fundamental to producing containers that meet food-safety expectations.
Quality control is embedded throughout the process rather than relegated to a final check. The mold’s geometry is validated by precision metrology after machining, with measurements captured by coordinate measuring machines (CMM) and other high-accuracy instruments. Tolerances are zeroed in on critical interfaces—where the core and cavity meet and where the mold must seal against thin-walled plastic sections. Any anomaly prompts a revisit to the CAD model or a rework of the affected inserts, sometimes requiring a remachine or a remount of the component. The resulting tool is a harmonized system: a mechanical device whose geometry, surface finish, and material integrity are tuned for predictable performance under demanding cycles. When the mold performs consistently, manufacturers can deliver containers with uniform dimensions, consistent wall thickness, and reliable sealing performance—traits essential for food storage and distribution.
The material choice also shapes the economic calculus of mold production. Steel molds, while more expensive upfront and heavier to handle, deliver long life and lower per-part wear over tens or hundreds of thousands of cycles. Aluminum molds, with their lower cost and rapid prototyping advantages, are invaluable during the early design phase or when production volumes are modest enough to justify shorter tool lives. Bronze alloys, though used less widely, protect critical interfaces and extend service life where wear would otherwise erode tolerances and degrade performance. Each material and technique contributes to a broader narrative: that the mold is not a single component but a tightly coupled system whose performance is a function of design intent, material science, and machining expertise. This is why a mature mold-making workflow combines CAD-driven design with precision CAM, multi-axis milling, EDM, finishing, and meticulous assembly to produce a tool that can reliably translate raw plastic resins into safe, cost-effective, consumer-ready containers.
The discussion above sketches a landscape where the interdependence of design, material science, and process engineering defines success. Practitioners must reconcile the desire for rapid development with the need for durability and repeatability. The material’s behavior under heat and pressure, the precision with which the cavity and core reproduce the final form, and the surface finish that governs release all converge in a single outcome: a mold that can sustain a production run while preserving the container’s integrity and sanitation. The chapter you have followed in this exploration travels from the initial digital design to the final, test-verified mold that sits ready on the line. Each step reflects a careful balance—between speed and precision, between cost and performance, and between the theoretical geometry in CAD and the realized geometry that emerges after machining, finishing, and assembly. The result is a tool that embodies the idea that small deviations in one parameter can cascade into visible differences in thousands of containers on a shelf. It is a reminder that the arc from CAD to cavity is more than a sequence of operations; it is a disciplined practice that ensures the food containers we rely on are safe, consistent, and visually trustworthy.
For further technical insights into material selection, machining practices, and the lifecycle implications of mold design for kitchen products, you may consult specialized resources that discuss the performance and best practices of plastic molds in similar applications. In practice, engineers often weigh new data against established guidelines to decide whether to invest in high-hardness steels for long runs or to leverage aluminum for rapid iteration during concept validation. The choice of technique—CNC milling for broad geometry, EDM for intricate features, and finishing methods for surface quality—tells a story about the project’s priorities and constraints. When the goal is a reliable, hygienic, and scalable production of food-grade containers, the mold becomes a strategic asset that carries the imprint of every design decision and manufacturing choice. The craft of mold making, therefore, is not merely a technical skill but a disciplined translation of product requirements into a reproducible, safe, and efficient manufacturing reality.
Internal link: food-grade take-away bowls
External reference for deeper technical context: https://www.moldex.com/plastic-molds-for-kitchen-products-explained/
Finishing touches in mold making for food packaging
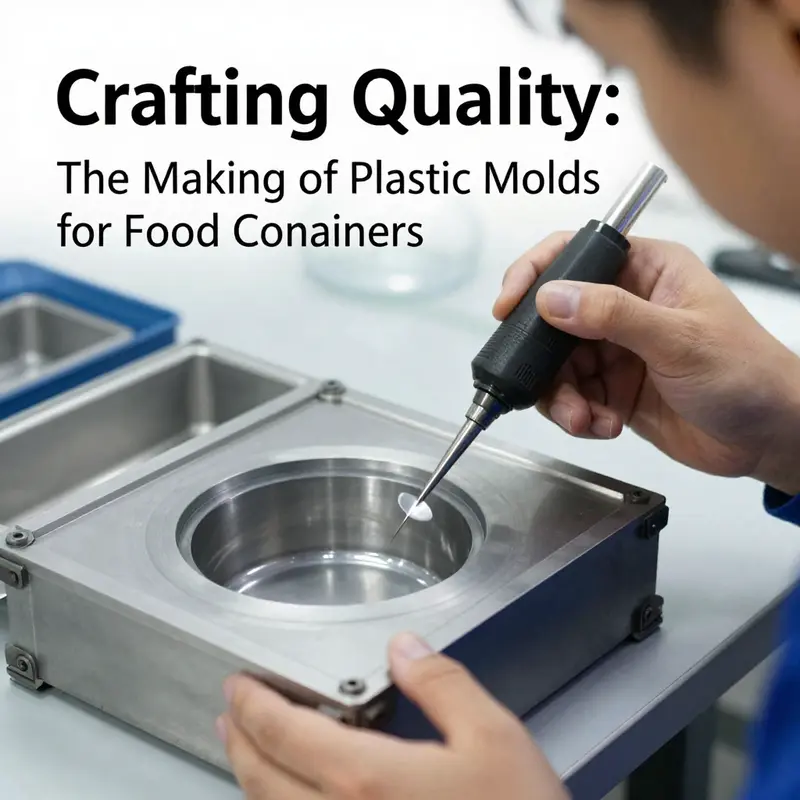
Polishing, texturing, and corrosion resistance treatments are essential finishing steps in mold making for food containers. This section briefly covers how surface polish improves hygiene and consistency; how texturing adds grip and branding while remaining cleanable; and how corrosion protection maintains long-term surface integrity under cleaning cycles. Final inspection and cleaning ensure repeatability and food-contact safety, with regulatory expectations from FDA and EU standards guiding practice. The two-part mold design relies on tight interaction between core and cavity, with finishing steps reinforcing this relationship to deliver reliable production over thousands of cycles.
From CAD to Cup: The Precision Journey of Plastic Molds That Shape Food Containers
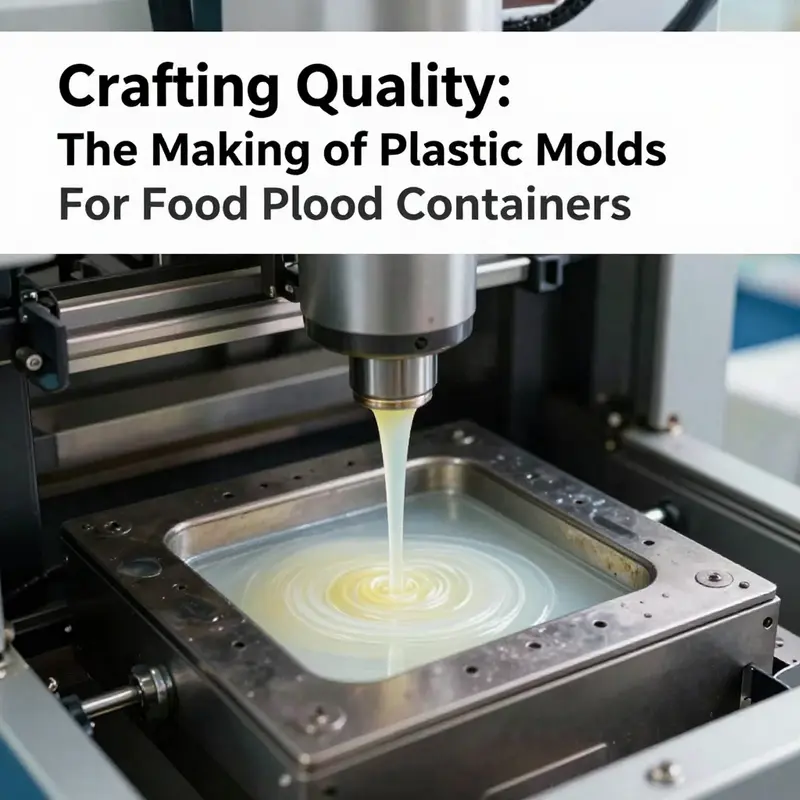
Across the crowded aisles of a grocery store, the plain, familiar plastic container that holds yogurt, soup, or a take-away salad seems almost ordinary. Yet its everyday presence masks a demanding, high-precision journey that begins long before the container ever meets a consumer. The path from a concept on a designer’s screen to a steady stream of finished parts in a production line is an extended dialogue between geometry, materials science, and manufacturing discipline. At the heart of this dialogue sits the plastic mold—a master tool that determines not only the container’s final shape but also its safety, durability, and cost. A mold in this context is more than a metal block; it is a carefully engineered interface that translates a digital design into thousands, millions, or even billions of identical parts. Two halves of the mold cooperate like a precise hinge: the cavity, which forms the interior geometry, and the core, which shapes the exterior profile. This division is fundamental because every dimension defect, every misalignment in the two halves, propagates into a product that could fail fit, seal, or consumer safety tests. The initial decision about materials, too, reverberates through the entire lifecycle. Tool steel is a common choice when the mold must resist wear and retain sharp edges over tens or hundreds of millions of cycles; aluminum, with its lighter weight and easier machinability, is often used for fast-turn prototypes or lower-volume runs. The choice between steel and aluminum is not merely about cost; it is a balance between durability, cycle time, thermal conductivity, and the expected lifespan of the production line. Once the design is locked in, the path to a finished mold proceeds through precise fabrication methods. Computer-aided design (CAD) supplies the geometry with meticulous detail, and then machining centers translate those digital contours into physical surfaces. Two primary approaches take the mold from concept to reality: CNC machining and electrical discharge machining (EDM). CNC milling carve away material to produce the external and internal features, while EDM erodes metal with electrical discharges to achieve intricate shapes and fine tolerances that would be difficult with traditional milling alone. The materials and techniques chosen at this stage determine how faithfully the cavity and core will reproduce the container’s features—edge radii, wall thickness, texture, and labeling areas. The resulting mold, made from tool steel or aluminum, is not merely a static metal form; it is a dynamic system with moving components, cooling circuits, and carefully designed gates that govern how molten plastic enters the mold. Finishing steps then refine the surface to suit the required release characteristics and surface quality. Polishing reduces microscopic roughness to improve release and reduce friction, while texturing creates surfaces that improve appearance, control light reflection, or influence how the polymer flows and adheres in the cavity. Heat treatment, tempering, and shot peening can enhance hardness and resistance to deformation, ensuring the mold holds its precise geometry over countless cycles. After these refinements, the mold is assembled, installed in an injection molding machine, and tested. The act of injection is a carefully choreographed sequence: clamp halves come together, the mold is sealed, and a calibrated dose of polymer resin is heated in a barrel until it becomes molten. The polymer is then forced into the mold cavity under high pressure through a nozzle, the runners, and the gates that lead to every corner of the cavity. This high-pressure injection is not a random event; it is the culmination of prior design decisions about gate location, runner geometry, and venting, all aimed at ensuring the melt fills the cavity uniformly and suppresses defects such as short shots, air traps, or cold slugs. The choice of polymer plays a decisive role in how the container will perform after ejection. Thermoplastics like polypropylene (PP), polyethylene (PE), and polystyrene (PS) are commonly selected for food-contact applications because of their favorable balance of processability, mechanical performance, and chemical resistance. Each material carries a distinct set of properties: PP offers rigidity and good moisture barrier with a tendency toward excellent clarity in some grades; PE provides toughness and impact resistance with good chemical compatibility; PS offers stiffness and clarity but can be more brittle in thinner walls. Food safety adds another essential layer of constraint. The materials and mold surfaces must comply with food-contact regulations, such as those defined by regulatory authorities in different regions. Ensuring compliance means verifying that additives, colorants, and residual monomers stay within prescribed limits and that the mold surfaces do not leach contaminants or harbor residues that could compromise safety. This requirement elevates the design and process control beyond mere dimensional accuracy; it infuses the entire manufacturing chain with a stewardship mindset toward consumer health and environmental responsibility. The injection cycle itself is a brisk interplay of times and temperatures, governed by both the polymer’s melting point and the mold’s thermal behavior. After the mold fills, cooling channels embedded in the mold walls extract heat, allowing the polymer to solidify into its intended form. The cooling time is critical: too short, and the part may shrink unevenly, leading to warpage; too long, and cycle time becomes inefficient, inflating per-unit costs. The cycle’s efficiency is a function of heat transfer, mold temperature, and the geometry of the part. Operators tune the process parameters—holding pressure, mold temperature, filling speed, and cooling time—in pursuit of the trifecta of dimensional stability, surface quality, and minimal residual stresses. Among these, holding pressure has a well-documented influence on warpage. The pressure applied after the mold is filled can compress the polymer and affect how it contracts as it cools. Mold temperature, while having a more modest impact than held pressure, still plays a meaningful role in wall thickness uniformity and surface finish, especially for parts with thin sections or complex geometries. The synergy between these parameters is often explored through computer-aided engineering (CAE) simulations, which model how the molten polymer flows, how heat dissipates, and where stresses emerge during solidification. Such simulations guide iterative improvements in mold design and process settings before a single part is produced, saving material and time and reducing the risk of costly mistakes on the factory floor. Orthogonal experimental design and other robust optimization methods then verify the best combinations of variables under real-world conditions, further boosting consistency across high-volume runs. The practical realities of production add layers of complexity that extend beyond the mold itself. In an industrial setting, the mold is embedded in an ecosystem of equipment, automation, and quality checks. The mold’s design must accommodate high cycle life, rapid tool-change capabilities, and maintainability. Maintenance becomes a discipline: regular inspection of inserts, sliders, and ejector systems; ensuring alignment and cleanliness; and reapplying coatings or textures as wear diminishes surface performance. Cleanliness is not merely an aesthetic concern; it is a safety and quality imperative. Any residue, mold release agents, or degradation products that build up can alter the surface finish, interfere with fill dynamics, or introduce contaminants that migrate into the final container. The scale and speed of modern packaging demand that molds be designed for integration with automated production lines. Stations for metering resin, preheating billets, transferring molded parts to downstream conveyors, and performing in-line quality checks all rely on predictable cycle behavior and robust mold geometry. The supply chain for mold components extends beyond the metal itself. It encompasses precise alignment features, hardened steel inserts for threads and cores, and seal systems to prevent leakage in cooling circuits. The lifecycle of a mold is tied to its ability to withstand repeated thermal cycling, mechanical stresses, and the corrosive environment that plastics and cleaning agents can create. This consideration dovetails with sustainability goals becoming increasingly central to packaging development. As the demand for efficient, recyclable packaging grows, designs increasingly favor molds tailored to materials that maximize recyclability and minimize waste. That trend pushes engineers to explore mold geometries and processing strategies that reduce scrap, promote material integrity, and facilitate post-consumer recycling streams. The story of plastic molds for food containers thus weaves together geometry, material science, process engineering, regulatory compliance, and sustainability into a continuous loop of improvement. It is a narrative of how a digital sketch becomes a physical form, how that form is disciplined by heat and pressure into a stable product, and how every cycle reinforces the safety and efficiency of the packaging system. For practitioners and scholars alike, the value lies not only in understanding each discrete step but in recognizing how tightly coupled decisions at the design stage ripple through to cost, quality, and consumer well-being. If one looks closely at the design of a mold for food containers, one can glimpse the broader philosophy of modern manufacturing: precision, repeatability, and accountability from concept to consumer. Related discussions and deeper dives into packaging design and related tooling can be explored through related packaging resources, such as this eco-friendly packaging solution page, which offers a perspective on how sustainable materials and clear design intent influence container performance: senang kraft paper octagonal bowl product. For those seeking further reading on the scientific underpinnings of injection molding and mold design for food containers, a comprehensive reference is available in the ScienceDirect article that surveys advanced techniques and optimization strategies in injection molding. Read more at: https://www.sciencedirect.com/science/article/pii/S235294882100647X
Final thoughts
The intricate process of crafting plastic molds for food containers not only ensures high-quality production but also aligns with needs for safety and efficiency within food service operations. As bubble tea shops, restaurants, and catering services strive for excellence in delivery and presentation, understanding the above processes can greatly enhance product selection and partnership with suppliers. By ensuring that the containers meet the necessary standards, businesses can confidently provide their customers with safe and appealing food experiences.