
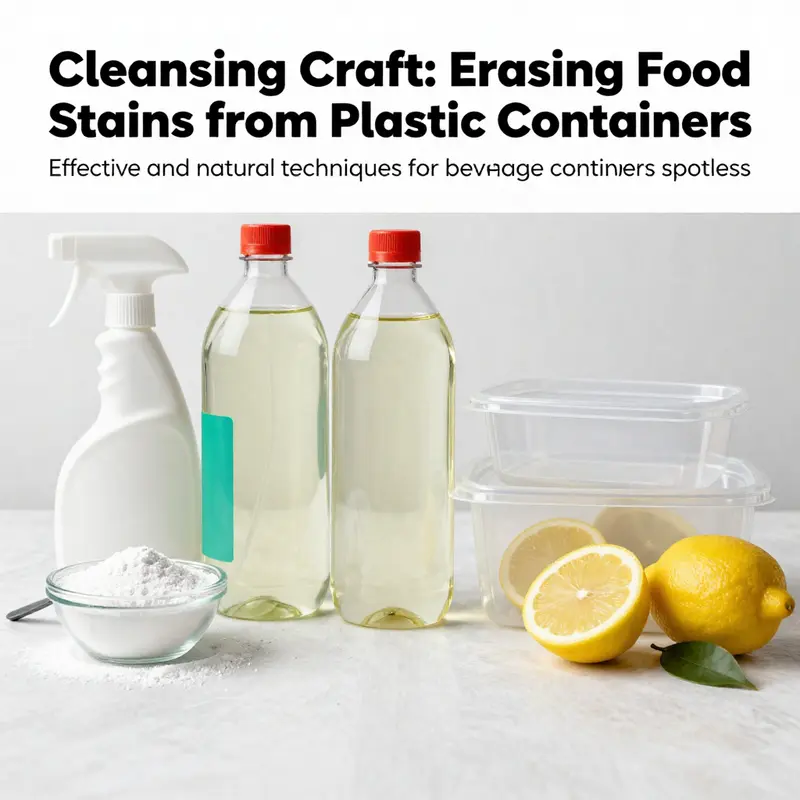
Maintaining immaculate plastic containers is essential for beverage businesses, from bubble tea shops to catering services. Food stains can detract from both the aesthetic appeal and hygiene of your brand, potentially affecting customer satisfaction. Effectively removing stains not only ensures your containers are visually pleasing but also promotes a cleaner, healthier environment for storing beverages. This article explores various proven methods, including the power of baking soda, white vinegar, lemon juice, salt, and sunlight, each uniquely effective in tackling different types of food stains. Let’s delve into each method, providing beverage experts with practical solutions to keep their plastic containers sparkling clean.
null
null
White Vinegar in Action: A Gentle, Scientific Path to Erasing Stains and Odors from Plastic Food Containers
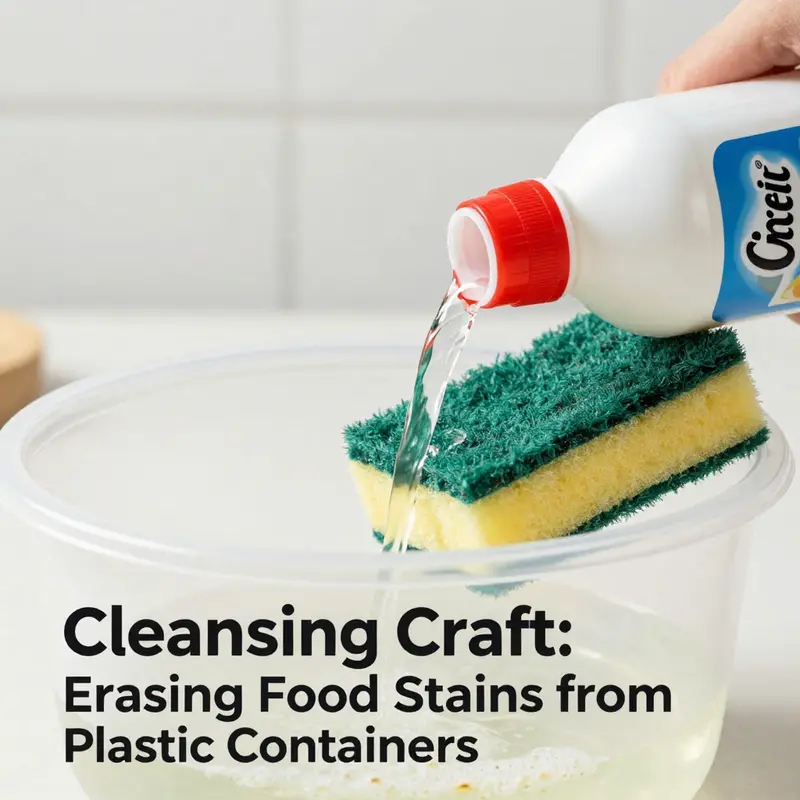
White vinegar often sits in the kitchen cabinet as a quiet workhorse. Its power to dissolve residues and neutralize odors comes from acetic acid, a mild yet effective chemical friend for many stain types that plague plastic containers. In this chapter, we explore how this simple liquid can be deployed with subtlety and care to restore clarity and hygiene to containers used for curry, coffee, tomato sauce, and other everyday foods. The core idea is straightforward: vinegar loosens and neutralizes, while a careful rinse and dry closes the loop. Yet the practical application hinges on understanding the stain’s nature and the plastic’s tolerance. Organic pigments from tea, coffee, and wine tend to cling because of their molecular structures that prefer to bind to plastic surfaces. Oil-based residues from fats or cooking oils can form a slick film that traps smells and colors. Protein-rich foods, especially dairy or meat remnants, can leave faint halos that persist even after rinsing. White vinegar attacks these problems through acidity. Acetic acid destabilizes the bonds between stain molecules and the plastic surface, allowing pigments and residues to be lifted during a gentle scrub. It also tackles odors by reducing volatile sulfur compounds and fatty odors that can linger after the meal is gone. The result is not just a cleaned surface but a container that smells fresher and feels less stained to the eye.
When planning a vinegar-based approach, it helps to distinguish between direct application and soaking. For light-to-moderate stains, a direct application is often enough. Dampen a cloth or sponge with undiluted white vinegar and lay it over the stained area. Let it sit for about 15–30 minutes. The acid needs that dwell time to work its way into the microscopic pores of the plastic surface and to loosen pigment particles. After the time passes, the container can be scrubbed gently with a non-abrasive sponge or brush. A routine rinse follows, ensuring all trace of the acidic solution is removed. This method is particularly effective for the familiar stains of tea, coffee, and fruit juices, where the pigment molecules have lodged themselves into the surface but have not yet hardened into a stubborn film.
For more stubborn or deeply penetrated stains, a soaking method may be preferable. Mix white vinegar with water in a 1:1 or 1:3 ratio, depending on the container’s tolerance and the stain’s intensity. Submerge the afflicted vessel and let it soak for 30 minutes to an hour. Soaking allows the acid to penetrate more completely and can lift stains that a quick wipe might miss. After soaking, scrub as described above and rinse thoroughly. It is important to rinse well because even trace amounts of vinegar can alter taste if the container isn’t fully cleared of the acid. In practice, a thorough rinse is part of any vinegar-based cleaning, whether direct-applied or soaked. If the odor or color persists after the initial rinse, an additional rinse and air-dry can help ensure no residual scent remains.
One practical note concerns the safety of vinegar on certain plastics. Most common household plastics tolerate white vinegar reasonably well for routine cleaning, but there is a caveat with certain brands and formulations. Some plastics marketed for heavy use or certain food-grade applications may exhibit slight surface stress from prolonged exposure to acids. The guidance is to avoid long, repeated exposure on sensitive plastics and to monitor for any changes in texture or clarity after multiple cleanings. If a container is old, scratched, or shows signs of wear, replacing it is a prudent option, as deeply micro-scratched surfaces can harbor microbes and become more prone to staining over time. In this light, vinegar becomes a gentle workhorse rather than a cure-all for degraded containers.
An additional benefit of vinegar is its odor-neutralizing property. The sulfurous and volatile compounds that contribute to persistent smells from garlic, onion, fish, or certain cheeses can be effectively dampened by acetic acid. The key is to rinse well after treatment because lingering vinegar, though non-toxic, can imprint a temporary scent that some people find more noticeable than the original odor. A final rinse and air-dry typically resolves any residual aroma. Some people also find that a small amount of sunlight after cleaning can help further reduce lingering odor and provide a light disinfection effect through UV exposure. However, it is important to balance this with the risk that prolonged sun exposure can warp certain plastics. A few hours of sun can be beneficial, but longer periods should be avoided for plastic containers that are not labeled as sun-stable.
In the wider kitchen practice, white vinegar serves as a versatile partner to other methods. For example, after using vinegar, a light baking soda paste can be employed to add a mild abrasive cleanup that lifts any remaining surface film. The baking soda, being a mild alkali, can help break down acidic residues and soften stubborn grime, while its gentle abrasion aids physical removal without scratching the plastic. When stains are particularly persistent, a two-step approach—vinegar soak followed by a baking soda paste rub—often yields a noticeably brighter surface. In this interplay of chemicals, the vinegar loosens and neutralizes, the paste scours and polishes, and the final rinse seals the result with cleanliness and brightness. The synergy mirrors the general principle that safe, simple household items can combine to deliver effective outcomes without resorting to harsher cleaners.
The broader lesson extends beyond individual containers. A science-informed routine for stain removal emphasizes selecting the right tool for the type of stain, applying it with an appropriate dwell time, and finishing with thorough rinsing and drying. For pigment stains from tea, coffee, or red wine, the acid approach of vinegar is often a highly effective first line of defense. For grease and oily residues, vinegar can still help by emulsifying some of the oils and enabling better scrubbing, with possible follow-up steps as needed. For organic residues that leave color impressions, lemon juice or gentle abrasives like salt can complement vinegar, but vinegar remains at the center of most odor-control strategies. In all cases, the objective is to restore the container’s appearance and hygiene without compromising the plastic’s integrity. A careful application reduces the risk of warping, clouding, or pitting that might accompany more aggressive cleaning methods.
To extend the practical relevance of this chapter, consider a scenario where you routinely reuse plastic containers for sauces and leftovers. The first approach is to wipe and rinse after use, then treat stains with a vinegar-based method as soon as stains appear. For more stubborn discoloration, the soaking method can be applied weekly or as needed, depending on the frequency of use and the container’s condition. In many households, homeowners find that regular maintenance with vinegar keeps containers looking lighter and smelling fresher, reducing the need for harsher cleaners over time. Because some containers are part of a larger system of reusable take-away ware, it is not uncommon to see people maintain a small stock of simple cleaners for quick transformations before storing containers for future use. In this sense, vinegar acts as a maintenance tool that complements other practices like proper drying and storage.
From a consumer perspective, it is helpful to think of stain removal as a small science experiment you run in your kitchen. Each stain type—pigment, oil, or protein—has its own behavior, and the acid-based mechanism of vinegar provides a predictable path to improvement. When you encounter a stubborn stain, your instinct should be to apply heat or harsh chemicals only after you have exhausted gentler, safer options. The guidance to avoid harsh industrial cleaners remains crucial for plastic containers, especially those used for food. A well-chosen home routine is not just about getting rid of a stain; it is about maintaining the container’s safety, taste neutrality, and longevity over time. In some cases, you might find it helpful to reference related container options that blend practical design with material resilience, such as packaging lines designed for easy cleaning and minimal odor retention. For readers curious about compatible container formats that align with low-impact, simple-clean strategies, one useful entry to explore is Disposable Biodegradable Kraft Paper and Clear Plastic Combo Container Packaging, which demonstrates a contemporary approach to food containers that balance performance with safety. Disposable Biodegradable Kraft Paper and Clear Plastic Combo Container Packaging This reference provides a broader view of container design, which informs how cleaners interact with different materials and finishes. In the end, the goal is a flexible, science-based routine that makes stains retreat without compromising the container or its contents.
For a broader, evidence-based view of white vinegar’s cleaning properties and its application to plastic containers, additional reading is available in external resources that discuss the chemistry of acetic acid and practical household uses. A reputable overview notes that the acidic environment can neutralize odors and help dissolve residues, while also emphasizing safe handling and rinse-aftercare. In practice, readers who want to extend their understanding can consult Healthline’s discussion of white vinegar cleaning, which provides foundational context for the approach described here: https://www.healthline.com/health/white-vinegar-cleaning#plastic-containers. This external reference complements the in-chapter guidance and reinforces the safety-conscious, material-aware approach to stain removal.
In sum, white vinegar offers a scientifically grounded, accessible path to reducing stains and odors in plastic containers. Whether used as a direct wipe, a short soak, or as part of a broader multi-step routine, vinegar helps dissolve residues, neutralize odors, and support thorough rinsing and drying. When used with care—avoiding prolonged exposure on sensitive plastics, performing complete rinses, and pairing with gentle abrasives when needed—white vinegar becomes a dependable ally in preserving the cleanliness and safety of plastic containers used to store food. And, as with any practical fixer, the best outcomes come from consistency, patience, and a willingness to adjust the method to the container’s age and the stain’s stubbornness. For readers who want to explore more about container materials and the nuances of cleaning different formats, the linked internal resource offers a broader perspective on packaging options and maintenance considerations, linking practical cleaning science with real-world container design.
Lemon Power: Natural, Safe Ways to Lift Stains from Plastic Containers
Lemon Power: Natural, Safe Ways to Lift Stains from Plastic Containers
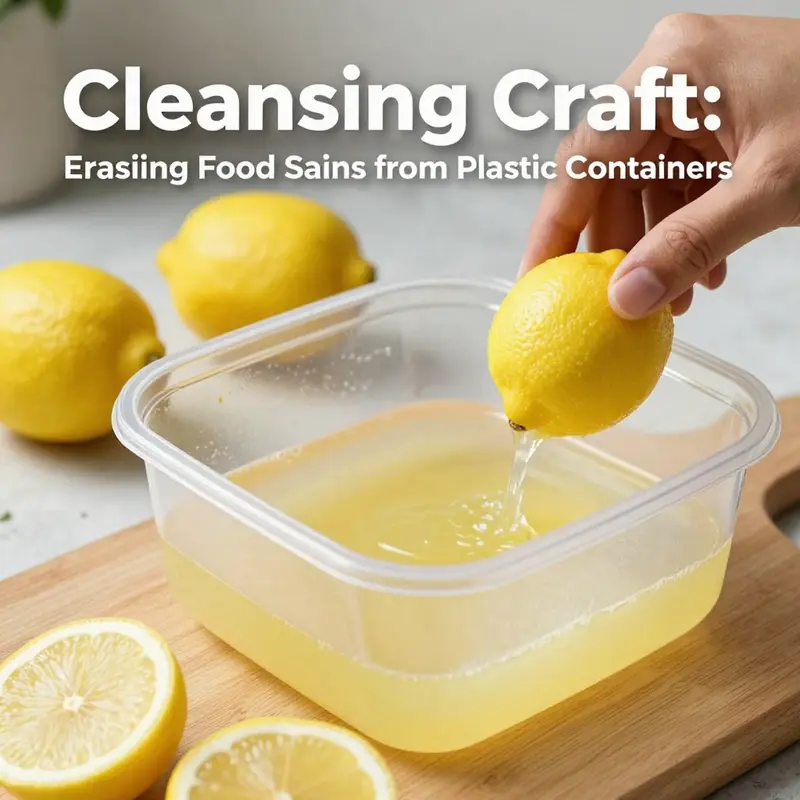
Lemon juice is one of the simplest and most effective household tools for restoring stained plastic containers. Its cleaning effect relies on citric acid, a mild organic acid that dissolves and loosens pigmented food residues and breaks down some grease. The result is a fresh-looking container without harsh chemicals or aggressive scrubbing. This chapter weaves the why and how into a practical, step-by-step approach you can use the next time tomato sauce, curry, or turmeric leaves a stubborn mark.
Lemon’s chemistry is gentle but powerful. Citric acid lowers pH at the contact point and destabilizes the molecules that give stains their color. Many food pigments are organic compounds that respond to mild acid; the acid can alter the chromophores and make them less visible. At the same time, the natural acidity helps reduce some bacteria and neutralize light odors. When combined with a bit of friction or a mild abrasive, the juice becomes even more effective. That is why rubbing with the cut side of a lemon or making a lemon-and-salt paste often gives better results than juice alone.
Begin by assessing the stain. Fresh stains are much easier to remove than old, set-in discoloration. For a recent spill, rinse immediately with warm water to remove loose particles. If the stain is older, dry the container and test a small, hidden area with lemon juice to ensure the plastic’s appearance and texture are unaffected. Most modern food-grade plastics tolerate mild acid, but testing prevents surprises on delicate or thin materials.
To treat a typical tomato- or curry-based stain, cut a lemon and squeeze enough juice to cover the area. Use the cut face of the lemon like a scrubber and massage the stain for a minute or two. The physical pressure helps the citric acid penetrate while the tiny abrasive fibers of the lemon skin lift residue. Let the juice sit for 20 to 30 minutes. During this time, avoid placing the container in direct, prolonged sunlight; brief sunlight exposure can help with pigment breakdown, but long exposure can weaken plastic over many repetitions. After the waiting period, rinse thoroughly and wash with your usual dish soap. If discoloration remains, repeat once more before moving to more aggressive yet still safe methods.
For stubborn or older pigment stains, combine lemon juice with a gentle abrasive to increase mechanical action without damaging the plastic. Mix lemon juice with a small amount of coarse salt or baking soda to form a paste. Apply the paste to the stain and rub in gentle circular motions for one to two minutes. Baking soda adds a mild alkaline component and produces light fizzing when it contacts the citric acid. That fizzing helps dislodge particles and enhances lift; salt provides dry abrasiveness to scrape away surface deposits. After scrubbing, let the paste rest on the stain for another 10 to 20 minutes, then rinse and wash. This combination is especially useful on stains that have penetrated slightly below the surface or on textured plastic where pigment can cling.
If the stain persists, a soaking technique can help. Squeeze lemon juice into warm water and fill the container to cover the affected area. Add a couple of tablespoons of baking soda if the stain is very stubborn; the bubbling reaction helps loosen pigments. Allow the container to soak for two to four hours, or overnight for extreme cases. After soaking, scrub gently with a soft sponge, rinse thoroughly, and air dry. The soaking softens bonded residues so they scrub away with minimal effort.
Odor removal is another benefit of lemon treatment. Many pungent smells stick to plastic: garlic, fish, and strong spices can linger. After removing visible stains, rub lemon juice over the inner surfaces or place lemon slices inside the container, close the lid, and let it sit for several hours. For especially persistent odors, place a small dish of lemon juice inside the closed container and leave it sealed overnight. The acid and fresh citrus vapors help neutralize sulfur compounds and other odor-causing molecules.
Lemon treatments are food-safe and chemical-free, making them a good first option. They are ideal when you want to avoid synthetic cleaners. Still, follow a few practical precautions. First, always rinse thoroughly. Residual acid or citrus oils can alter the taste of next stored foods. Second, avoid repeated high heat and sun exposure. While a single post-cleaning sun session can aid stain fading, prolonged ultraviolet exposure over time can degrade and discolor some plastics. Third, if a plastic container shows deep scratches or persistent odors after multiple cleanings, consider replacement. Scratches trap microbes and pigments, and older plastics may leach chemicals more readily.
Choose the right tools for the job. Use soft sponges or microfiber cloths to avoid adding scratches. Non-abrasive scrubbers are best for smooth plastics; reserve the lemon-and-salt method for textured surfaces only when necessary. When dealing with lids and seals, remove rubber or silicone gaskets when possible and treat them separately. Gaskets tolerate lemon but should be rinsed well and air-dried to prevent trapped moisture from promoting mold.
Some containers are designed to be reused many times and are more forgiving of cleaning methods. If you store many prepared meals at home or use plastic containers regularly, consider investing in sturdier options that resist staining and warp. For example, sturdy square containers with polypropylene lids tend to resist staining better than thin single-use bowls. If you need a replacement or an upgrade that cleans well and lasts, a reusable square salad bowl with PP lids can be a practical choice for everyday use. These types of containers often withstand lemon treatments and light abrasives without issue. (See a product page for reference: reusable square salad bowls with PP lids).
In cases where stains are purely cosmetic but stubborn, a combined approach works best. Start with lemon application, add mild abrasion with baking soda or salt, then finish with a warm-soapy wash. A short final soak with diluted white vinegar can help remove any lingering cloudiness. Rinse thoroughly after each step. For light-colored or transparent plastics, a single treatment is often enough. For darker or heavily pigmented foods, you may need to repeat the process across a few cycles.
Maintenance prevents many stains. Rinse containers immediately after use to prevent pigments from setting. Store lids and containers separately when possible to allow airflow and reduce trapped moisture. Rotate use so plastics age evenly. Avoid storing highly pigmented foods, such as tomato sauce or turmeric-rich dishes, in thin plastic for long periods. If you must, place a barrier like parchment or a liner between the food and the container to minimize direct contact.
Finally, know when to stop. Lemon is safe and effective, but it has limits. If a container remains stained and shows signs of structural wear, replacing it is the safest option. Frequent heavy treatments and repeated sun exposure will degrade plastic over time. When a container becomes sticky, heavily scratched, or retains an unpleasant odor despite cleaning, discard and replace it. Health and hygiene are more important than saving a single piece of plastic.
Lemon juice gives you a low-cost, low-risk way to tackle many common food stains. It combines chemistry and gentle abrasion to lift pigments and refresh plastics without harsh chemicals. Use it with care, test when in doubt, and pair it with mild abrasives or brief sunlight exposure only as needed. With the right method and a little patience, most stained containers can look and smell near-new again. For more on the natural cleaning properties of lemon juice and its effect on bacteria and stains, see this external reference: https://www.healthline.com/nutrition/lemon-juice-health-benefits
Salt at the Surface: A Gentle, Everyday Scrub for Stubborn Plastic Stains
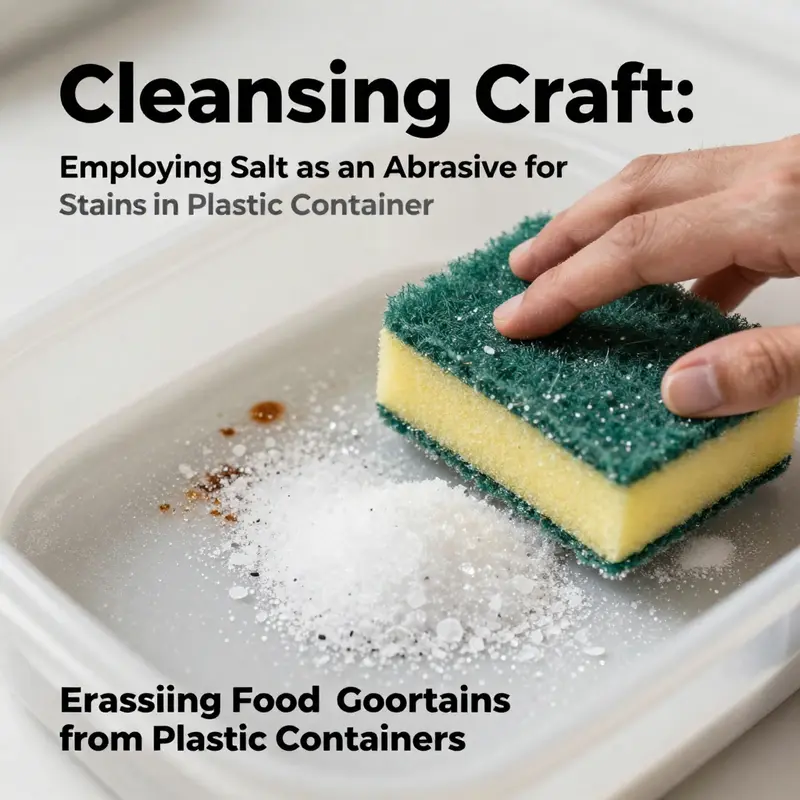
When a spill leaves a stubborn mark on a plastic container, many reach straight for harsher chemicals or aggressive scrubs. Yet a simple kitchen staple—salt—can act as a surprisingly effective and safe abrasive that lifts surface stains without compromising the integrity of common plastics. This chapter explores how salt works as a mechanical cleaner, how to use it to maximum effect, and how it fits into a broader, safer routine for restoring plastic containers that have lost their luster to food dyes, oils, and mineral residues. The aim is not to replace all other methods but to offer a gentle, readily available option that can reduce the need for stronger cleaners in many everyday situations. Salt’s appeal lies in its balance: it provides friction to dislodge residues while remaining non-toxic, inexpensive, and easy to rinse away. If you think of stain removal as a dialogue between chemistry and physics, salt is the practical, tactile partner that helps you do most of the talking with your hands. The result is a cleaner surface, less lingering discoloration, and fewer concerns about introducing harsh substances into food storage environments. This approach also aligns with the broader goal of preserving plastic containers so they continue to serve for years without warping or staining, a point that resonates with readers seeking both efficiency and long-term cost savings.
Salt’s effectiveness starts with the simple physics of abrasion. Salt crystals, whether fine or coarse, act like tiny scrapers when rubbed across a moist surface. They provide the friction needed to lift light-to-moderate surface stains—those stains that sit atop the plastic rather than penetrating deeply into microscopic pores. When a pigment or dye from tomato sauce, beet juice, tea, or coffee has settled on the surface, the mechanical action of salt helps loosen the molecules that cling to the plastic. The moist environment is essential here: water softens the plastic’s surface just enough to allow the crystals to do their job without abrading the plastic itself. In practical terms, you can imagine the salt as giving your cloth or sponge a little extra bite, enabling it to dislodge stubborn residues with a calm, controlled effort that many other cleaners cannot match.
The method is straightforward and adaptable. Begin with a clean, damp sponge or soft cloth. Sprinkle a small amount of salt onto the dampened area or directly onto the cloth, then use gentle, circular motions to work the salt into the stain. The key is not brute force but a steady rhythm that lets the salt abrade away residues while the water carries them away. For general stains from everyday foods—soy sauce, fruit juices, or melted cheese—a light touch paired with a little salt can do the job in a minute or two. If the stain proves more stubborn, allow the salt-laden area to sit for a brief period, perhaps a few minutes, then resume the circular scrubbing. If the container is particularly stained, consider a short soak: fill with warm water, add a generous pinch of salt, and let it sit for 15 to 30 minutes before returning to the scrubbing stage. This soaking step gives the water time to penetrate slightly above the surface, letting the salt work through the softened residue more effectively. After the scrubbing, rinse thoroughly with clean water to remove any salt residue and dry completely. Salt left behind on plastic can attract moisture or leave a grainy film if not rinsed well, so the final rinse is a small but crucial step in preventing future issues.
While salt on its own can address many surface stains, its effectiveness can be enhanced by pairing it with other safe, complementary techniques. For oily residues, a paste made from salt and a touch of water can serve as a more aggressive scrub than salt alone, breaking up fats and oils while the salt grains physically lift them away. If a deeper color stain has set in, you can transition to a two-step approach: first use salt to remove the superficial discoloration, then switch to a gentle cleaner such as a baking soda paste for any lingering spots. The baking soda acts as a mild alkali and helps to neutralize acids from food residues while providing additional scrubbing power. The synergy here is practical rather than flashy: the salt addresses surface grime, while baking soda handles the more stubborn or greasy components beneath. It’s important to test any combination on a small, inconspicuous area first to ensure there is no unintended dulling or abrasion, especially on containers with colored or patterned surfaces where the dye can be sensitive to abrasive action.
A critical aspect of using salt safely is understanding the limits of the plastic you’re cleaning. Most household plastics tolerate light to moderate abrasion well, but very thin, soft, or heavily cracked containers may respond poorly to aggressive scrubbing, even with salt. If you notice any scratching, cloudiness, or roughness developing after a cleaning pass, reduce the pressure, switch to fine-grain salt, and consider relying more on soaking than direct scrubbing. In addition, avoid letting salt sit in the grooves or seams of the container, where it can dry and become a gritty residue that’s hard to rinse away. This is especially true for containers with textured surfaces or intricate lid designs where salt can accumulate and harbor moisture. The goal is to lift the stain, not to embed salt crystals into the surface or into crevices where they could later dissolve and re-emerge as a rough feel or odor.
Salt’s environmental footprint is another worthwhile consideration. Compared with aggressive chemical cleaners, salt is a low-cost, readily available option with minimal risk when used properly. It doesn’t introduce harsh fumes or require special ventilation, making it suitable for homes, apartments, and even spaces where air quality is a concern. The trade-off is simple: you must rinse thoroughly to remove all salt granules and allow the container to dry fully. A dry, stored container is less likely to harbor bacteria or grow odors, and salt residues, if left, can attract dust or moisture over time. The routine becomes a small ritual—rinse, inspect, dry—that reinforces good hygiene without the need for specialty products. Importantly, salt is compatible with a broader set of safe cleaning practices discussed in the preceding material, so you can weave it into a comprehensive approach rather than viewing it as a stand-alone fix.
The practical takeaway is that salt is a versatile, gentle, and economical tool for many common staining scenarios. For shallow, surface-level discoloration caused by foods like soy sauce, tomato products, or fruit pigments, salt can often restore a container’s clarity with minimal effort. For stubborn or slightly aged stains, consider a brief soaking with salt first, followed by a light scrub and a thorough rinse. In cases where the stain is deeply set or there is lingering odor, it is perfectly acceptable to bring in one of the safer companion methods discussed earlier, such as lemon juice or white vinegar, after salt has done its initial job. The sequence—salt first for mechanical lift, then a secondary treatment for pigments or odors—offers a balanced, practical workflow that respects both the material of the container and the safety of the user.
To connect this approach with real-world resources, you can explore a practical example of how salt-based cleaning sits within a broader container-care ecosystem. For a more tactile sense of how different storage solutions can be integrated into everyday cleaning routines, you can see this container page for reference: senang-factory-round-disposable-eco-friendly-customizable-kraft-waterproof-takeaway-salad-paper-bowl-with-pppaper-lid. This link provides context on how containers are designed to withstand normal handling, which complements the understanding that salt-based scrubbing, when done gently, aligns with the intended durability of typical plastic storage options.
For readers who want to broaden their scope beyond salt, this chapter sits within a continuum of safe cleaning techniques. If you’re curious about how other common household agents interact with plastic surfaces—especially when aiming to preserve clarity and avoid odors—consider consulting broader guidance on cleaning plastic containers. An external resource that summarizes practical, science-backed methods for plastic container care can be found at Healthline’s guide to cleaning plastic containers, which discusses the roles of various agents, including mild acids and safe detergents, in a non-damaging context. This external reference provides a helpful synthesis of principles already touched upon here and in related chapters, reinforcing the idea that successful stain removal blends mechanical action with appropriate chemical aids when needed.
In sum, salt offers a reliable, economical first-line technique for removing surface stains from plastic containers. It fits neatly into a stepwise approach that respects the material, minimizes risk, and supports longer container life. Its best use is in combination with patience, proper rinsing, and, when necessary, gentle follow-up treatments that target pigment-based stains or oily residues. When you adopt this method as part of a thoughtful cleaning routine, you gain a transferable skill: you learn to work with the grain of the plastic, not against it, letting the simplest tools in your kitchen do the heavy lifting. The result is a container that not only looks cleaner but also feels cleaner, ready to hold fresh food with confidence rather than worry about lingering stains or odors.
External resources and further reading can illuminate nuances of this approach and provide broader guidelines for safe plastic care. For readers who want a broader perspective beyond the salt method, the recommended external resource offers a comprehensive overview of safe daily cleaning practices for plastic kitchenware and can serve as a helpful companion to the practical steps outlined here.
Sunlit Solutions: Harnessing Daylight to Refresh Plastic Food Containers
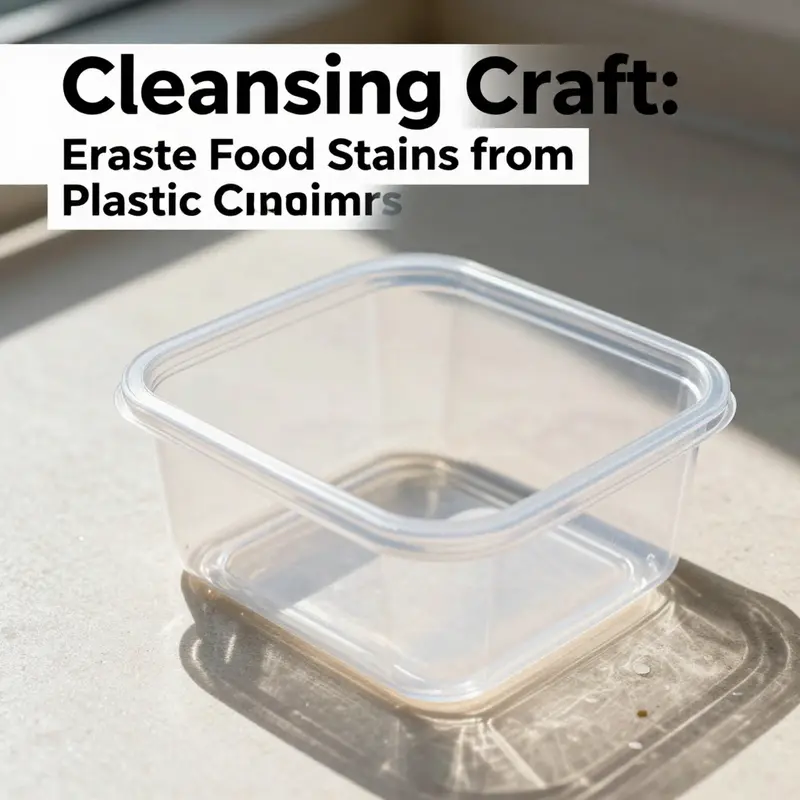
Sunlight, used thoughtfully, can help refresh plastic food containers with a gentle, chemical-free approach. UV exposure can fade some superficial stains and soften lingering odors, while direct sun heat accelerates evaporation of volatile odor molecules. Begin with a thorough rinse, then place the container open-side down in direct sunlight for 1 to 3 hours, adjusting for plastic type and thickness and avoiding warping or softening. For stubborn residues, scrub with warm water and a mild, food-safe soap, then apply a light baking soda paste to the interior, rinse, and re-apply sun exposure as needed. After sun, rinse with cool water and air-dry away from heat sources. If odors persist, a brief, well-diluted vinegar rinse can be used as a follow-up, ensuring thorough rinsing to remove any vinegar aftertaste. Always verify the container is food-safe and avoid prolonged sun exposure on heat-sensitive plastics. This daylight-driven step complements regular washing and offers an eco-friendly way to reduce stains and odors.
Final thoughts
Utilizing these cleaning techniques can significantly enhance the presentation and hygiene of your plastic containers, crucial for any beverage business striving for excellence. By incorporating baking soda, vinegar, lemon juice, salt, and sunlight into your regular cleaning regimen, you can effectively tackle a range of food stains while maintaining the integrity of your containers. This not only preserves their appearance but also upholds the health standards your customers expect. Consistency is key; regularly addressing stains as they occur will prevent buildup and ensure your service remains top-notch.