
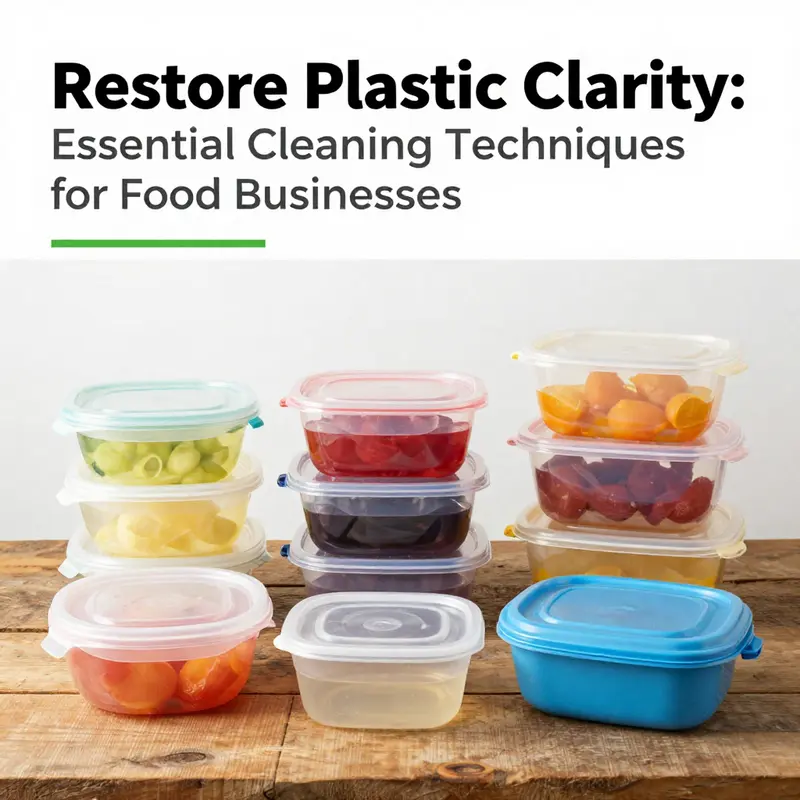
Maintaining the presentation and hygiene of plastic food containers is crucial for businesses in the food and beverage industry. Discolouration from daily use can detract from your service quality and brand image. This guide offers effective, household-friendly methods to clean and restore clarity to discoloured plastic containers, ensuring they remain hygienic and visually appealing. Each chapter will explore a different aspect of the cleaning process, from using gentle cleaning agents like baking soda and vinegar, to effective soaking techniques and proper rinsing and drying methods. This comprehensive approach will empower your team to keep your food containers in pristine condition.
Restoring Clarity: A Gentle Baking Soda and Vinegar Ritual for Discoloured Plastic Food Containers
Discoloured plastic food containers often look like they’ve surrendered to a stubborn fog, a hazy veil that dulls the pleasure of reusing what should be a simple, economical choice. The cloudiness isn’t just cosmetic; it’s a sign of wear at the microscopic level. Small scratches from abrasive cleaning, the steady seepage of oily residues from fatty foods, heat exposure from dishwashing cycles, and mineral deposits from hard water all combine to scatter light and create that milky appearance. Yet, this chapter pursues a practical, science-informed path: you can reverse most of that cloudiness with safe, household ingredients and careful technique. The goal is not perfection through harsh chemicals but a gentle restoration that preserves the integrity of the plastic and extends its usable life.
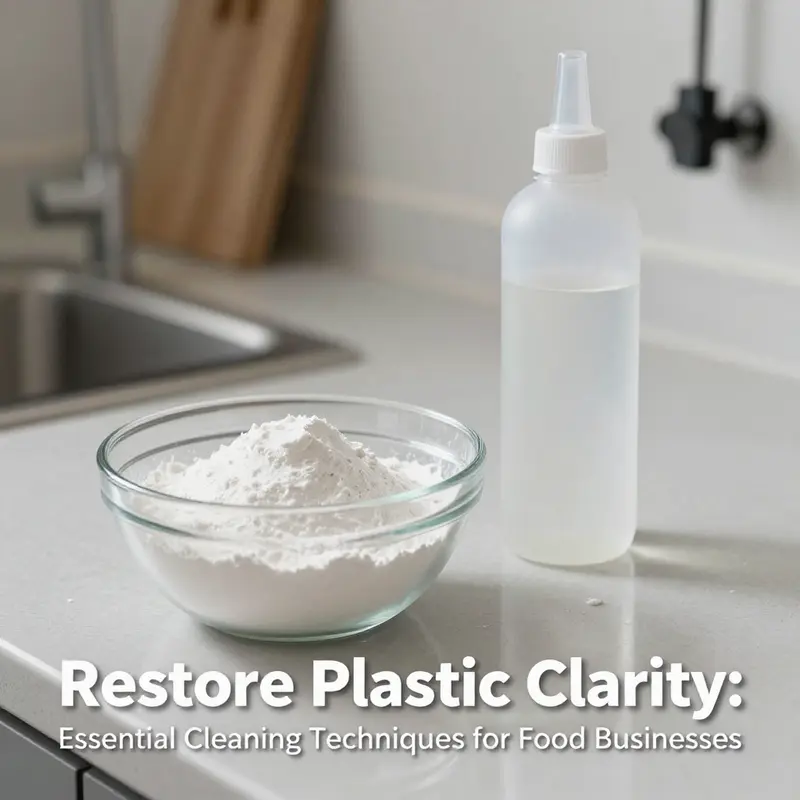
Begin with the premise that baking soda and vinegar, in the right balance, offer a two-pronged approach. Baking soda is a mild alkali that helps lift greasy residues and neutralize acids left from sauces. Vinegar brings acetic acid that dissolves mineral deposits and disrupts oily films, while also contributing a deodorizing effect. The combination, when used properly, produces a fizz that aids agitation without scratching the surface. It’s a dance of chemistry and patience, a two-step ritual that respects the material chemistry of common kitchen plastics.
To start, prepare a cleaning solution that is gentle but effective. Mix one tablespoon of baking soda with two cups of warm water. The warmth helps the baking soda dissolve and begin lifting oils. Stir until it forms a light, workable solution. This ratio keeps the solution from becoming overly aggressive while still delivering a meaningful cleaning action. The idea is to maintain a surface that remains intact and free from micro-scratches, which would otherwise intensify cloudiness rather than reduce it.
With the baking soda solution ready, treat the container’s interior first. For stubborn stains, apply a thin paste of baking soda directly to the stained areas using a soft cloth or sponge. The paste works as a gentle abrasive—emphatically non-abrasive in nature, but enough to lift pigments without eroding the plastic’s surface. Allow the paste to sit for at least 30 minutes, and up to two hours for particularly tenacious discoloration. This dwell time enables the alkaline particles to penetrate and loosen embedded pigment, grease, and dried-on residues, without the risk of deep scratching that harsher abrasives might cause.
After the baking soda has had its moment, bring in the vinegar. White vinegar is a versatile ally here; its acetic acid helps dissolve mineral deposits and dislodge leftover grease. Drizzle or pour a small amount of vinegar over the treated areas, or wipe them with a cloth dampened in vinegar. You’ll notice a gentle fizz as the baking soda and vinegar react. This fizz is a sign of active cleaning action—think of it as a light, mechanical agitation at a molecular level that helps lift stubborn film without scrubbing too aggressively.
For deeper cleaning, you can opt to soak the container in a solution of equal parts vinegar and water for 30 to 60 minutes. This soaking step ensures that the acidic solution has time to penetrate a broader range of residues, including those that cling to the container’s interior corners. When soaking, keep the container away from metals and avoid letting the paper labels or adhesives contact the solution, as these can degrade or leave residues.
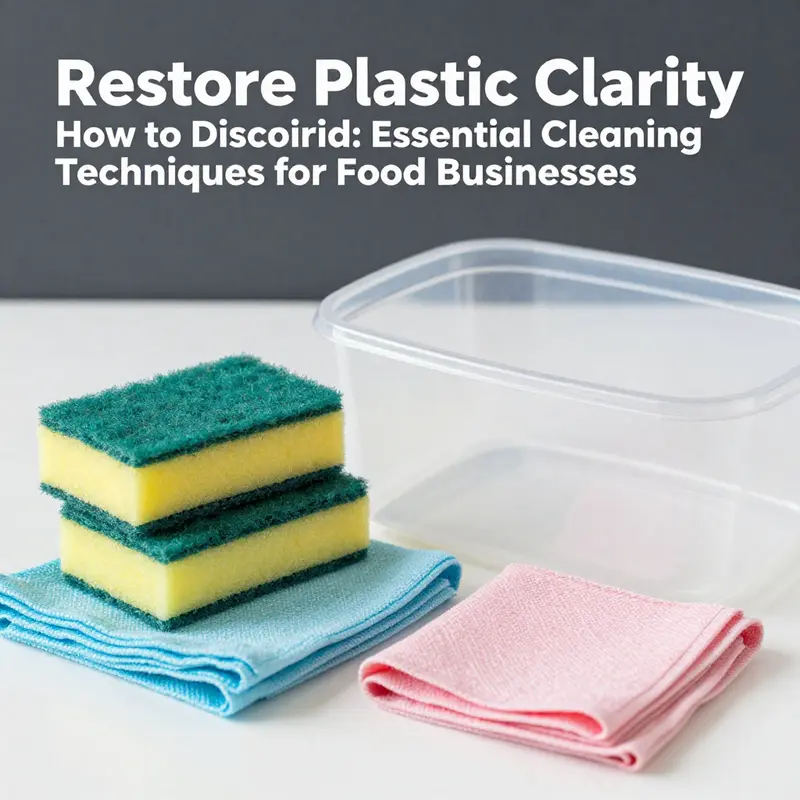
Once the soak is complete, switch to a non-abrasive scrub in gentle circular motions. Use a soft sponge or a non-scratch brush to avoid introducing micro-scratches that scatter light. Scrub only as needed, with care paid to the inner surfaces and any textured areas where residues tend to linger. It’s not about brute scrubbing; it’s about controlled, deliberate cleaning that respects the plastic’s surface.
Rinse thoroughly. A comprehensive rinse is essential to remove all traces of baking soda and vinegar, as lingering residues can leave a film that contributes to haze after drying. Rinse under running water for at least 30 seconds while gently rubbing the inner surfaces with your fingers. The goal is a clean slate—the absence of any detergent or cleaning agents that could re-deposit a haze when the container dries.
Drying is as important as cleaning. Air-dry the container upside down on a clean drying rack in a well-ventilated area. Avoid wiping with a fabric or towel that could leave lint or introduce new contaminants. If you’re tempted to speed up the process with heat or sunlight, proceed with caution. A short spell of sunlight, up to two hours, can help reduce lingering odors and may contribute to a brighter appearance. Prolonged exposure, however, risks UV-induced damage and yellowing, especially with certain plastics. The approach is balance: enough sun to refresh but not so long as to degrade.
As with any restoration effort, material awareness matters. Before you begin, confirm your container’s material type and its recommended cleaning limits. Polypropylene (PP) and polyethylene (PET) are common and generally forgiving when treated with mild cleaners, but polycarbonate (PC) and some recycled or lower-quality plastics can be more sensitive. Avoid boiling water, which can warp many thermoplastics, and steer clear of high-heat dishwashing cycles that can accelerate surface degradation. And never mix vinegar with bleach; that combination produces toxic chlorine gas, a risk you want to avoid entirely.
The two-step approach—baking soda for lift and vinegar for residue—offers a practical, eco-friendly framework. It’s a gentle method designed to reduce cloudy haze without resorting to harsh solvents. The method aligns with broader habits that protect containers: rinse promptly after use, avoid abrasive tools, and maintain a routine that minimizes the accumulation of oils and pigments that feed discoloration. If you catch yourself frequently seeing yellowing from turmeric-rich sauces or coffee stains, you can extend the soaking time a bit, but always monitor the container for any signs of material distress. The goal is to preserve, not transform beyond the plastic’s natural design.
Beyond the restoration itself, consider strategies to reduce future discoloration. Cleaning promptly after meals prevents oils from drying and caking onto the container’s surface. Use soft cloths and silicone brushes instead of rough sponges, and label containers to keep track of contents and minimize repeated exposure to stubborn pigments. If you notice deep scratches, warping, or persistent discoloration that dulls the clarity even after thorough cleaning, it may be time to retire the container. A compromised surface can harbor bacteria and degrade more quickly, undermining the very hygiene you’re trying to preserve.
The science behind this approach is reassuring. Baking soda’s mild alkalinity helps destabilize grease and pigment by loosening bonds that trap color molecules within the plastic’s microstructure. Vinegar’s acidity then disrupts mineral compounds and residual films, allowing for a more complete removal. The fizz that accompanies their contact is more than a curiosity; it’s a visible reminder that a careful, controlled reaction is actively lifting residues without aggressive scratching. This chemistry is part of a broader philosophy for cleaning plastics: seek gentleness, avoid aggressive abrasives, and rely on everyday household chemistry that can be trusted.
If you’re curious to explore related container options that share a philosophy of thoughtful design and practical reuse, you can visit one related product page that discusses sturdy, eco-conscious packaging options. For a concrete example, see this page: senang-1200ml-heavy-duty-eco-friendly-disposable-waterproof-kraft-paper-octagonal-bowl-with-lid-for-snack-candy-pet-food. While it features a different material family, the link highlights how careful packaging design can harmonize with a lifestyle that values reuse and responsible materials across the board.
For readers seeking a broader, more technical perspective on restoring clarity to plastic containers, a detailed science-backed guide offers further insights into similar methods and considerations. It notes that the combination of mild alkaline cleaners and acidic rinses can tackle a wide range of residues while preserving plastic integrity. It also cautions about material compatibility and the need to avoid aggressive temperatures and harsh chemicals. This larger resource reinforces the practical approach described here and provides a broader context for understanding why these steps work so well in everyday kitchens. See the external resource for a deeper dive into the science and additional best practices: https://www.thespruceeats.com/clean-cloudy-plastic-food-containers-3988877
In the end, restoring clarity to discoloured plastic containers is less about one grand fix and more about a respectful routine. A calm paste, a measured vinegar rinse, and patient drying together form a repeatable ritual that keeps containers serviceable and pleasant to use. It’s a small, deliberate act of care that reduces waste and reinforces habits that value both hygiene and simplicity. When approached with awareness of material limits and a gentle touch, the humble kitchen staple can regain its transparency, its ease of use, and its role in a sustainable kitchen cycle.
null

null
Gentle Restoration: Non‑Abrasive Ways to Clear and Deodorize Discoloured Plastic Food Containers
Why non‑abrasive cleaning restores clarity
Discolouration and cloudiness in plastic food containers usually come from oils, tiny surface scratches, mineral deposits, and heat-induced changes. When you scrub with rough tools or use harsh chemicals, you often make the problem worse. Micro-scratches scatter light and create a permanent haze. High heat can warp the polymer and drive oil deeper into the material. The smarter approach is to dissolve, lift, and rinse contaminants using gentle, food-safe chemistry and controlled soaking. That restores clarity without introducing new surface damage.
Begin by separating tasks into three simple actions: loosen, lift, and rinse. Loosen dried food and oils with warm water and soak. Lift stains and residues using mild acids or mild alkaline cleaners that break down grease. Rinse thoroughly so no film remains. Each step is brief, safe, and focused. The result: clarity returns without abrasives or high heat.
Start with a warm soak. Use water between 40–60°C (104–140°F). This temperature softens dried oils while staying below the level that can deform common food plastics. Submerge lids and bodies for 10–30 minutes. If the container has tight grooves or seals, open or disassemble those pieces before soaking.
For oil and stain removal, a baking soda paste is surprisingly effective. Mix baking soda with just enough water to make a thick paste. Apply the paste with a soft microfiber cloth or a silicone brush. Let it sit for 10–15 minutes. Baking soda’s mild alkalinity helps break down fats and emulsify residues. Gently rub in small circles—pressure should be light. Afterward, pour out the paste and rinse under running warm water.
White vinegar is excellent for mineral deposits and lingering odors. Dilute one part white vinegar to three parts water and fill the container. Soak for 30–60 minutes. The acetic acid dissolves water‑scale and neutralizes some odours. If a vinegar scent remains, rinse thoroughly with warm water and a neutral dish soap to remove any acid film. Vinegar also pairs well with baking soda for a brief, controlled fizzing reaction that lifts trapped debris—apply the paste first, then add a small splash of vinegar, let it bubble for a minute, then rinse.
Use lemon for light bleaching and a fresh scent. Rub a cut lemon over discoloured areas or add a few tablespoons of lemon juice to warm water and soak for 20–30 minutes. Citric acid works as a gentle natural bleach and helps remove mild stains from tomato and curry oils. Lemon also adds antibacterial properties, though not a replacement for proper cleaning.
Choose a food-safe, neutral pH cleaner if you prefer a commercial option. These cleaners are formulated to cut grease without damaging plastics. Always follow label directions and use a soft sponge or cloth. Avoid any cleaner that says it contains bleach, caustics, or strong solvents. After cleaning, rinse until water runs clear.
Drying is as important as washing. After rinsing, air-dry containers upside down on a clean rack. Avoid wiping with towels that shed lint. Air drying prevents small fibers from clinging to the surface and reduces the chance of trapping moisture in crevices. If you use short sunlight exposure to finish drying, limit it to two hours to take advantage of UV for mild bleaching without accelerating UV degradation.
Preventing re‑discolouration starts at food removal. Scrape and rinse containers immediately after use, especially when they held fatty sauces or strongly pigmented foods. Use silicone or nylon utensils that don’t scratch. Store lids separately to let trapped moisture escape. Rotate containers in your cupboard so items that are used frequently don’t accumulate wear faster than others.
Avoid dishwashers for older or discoloured plastics. The high heat, powerful detergents, and repeated cycles accelerate cloudiness and can soften polymer surfaces. If you must use a dishwasher, place newer, dishwasher-safe containers on the top rack only, and use the gentlest cycle. Never pour boiling water directly into plastic containers—rapid heat can warp or weaken them.
When stains are stubborn, repeat a gentle cycle rather than escalating to abrasive tools. Alternate a baking soda paste treatment with a vinegar soak or a lemon soak over a few days. Small, repeated treatments often yield better results than one aggressive scrub. If persistent yellowing remains after careful attempts, it may indicate chemical changes in the plastic from heat or long-term exposure to oils. At that point, clarity may not fully return.
Inspect containers after cleaning for damage. Deep scratches, cracks, or warping compromise food safety because bacteria hide in crevices. Replace any container that shows structural flaws or that continues to smell or stain despite cleaning efforts. When choosing replacements, consider designs with smooth interiors and fewer seams; these are easier to clean and resist staining.
For those who prefer alternative container materials, consider switching some storage tasks to glass or high‑quality, heat‑resistant containers for acidic or oily foods. Glass resists staining and doesn’t absorb oils. If you keep plastic, choose pieces labeled food-safe and heat-resistant to reduce future clouding.
Finally, if you handle lots of takeout or meal prep, you may find an accessory that complements cleaning: a soft silicone brush for seals, a microfiber cloth for polishing after drying, and a rack that allows good airflow. If you ever need a quick replacement or want containers designed to be easier to clean, check options like eco-friendly reusable square salad bowls with PP lids for ideas about designs with smooth liners and secure fits that minimize residue traps.
For additional research on restoring cloudy plastic and safe cleaning practices, see this Consumer Reports guide: https://www.consumerreports.org/plastic-containers/cleaning-cloudy-plastic-food-containers-a978223
Restoring Clarity: Mastering Soak Methods to Rejuvenate Discoloured Plastic Food Containers
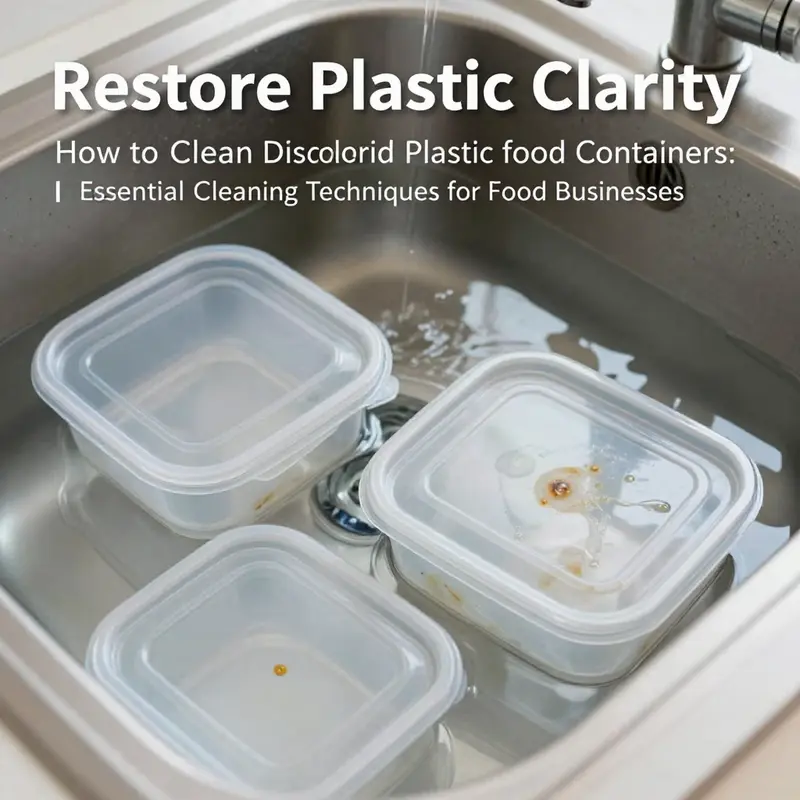
Discoloured plastic containers rarely fail to tell a small story of meals past. Cloudiness and yellowing often result from a mix of factors: microscopic surface scratches that scatter light, oils and pigments absorbed into the plastic matrix, heat exposure that weakens surface integrity, and mineral deposits from hard water. Rather than discarding them, you can reverse much of the wear with simple, gentle soaking techniques that rely on common household ingredients. The goal is not to strip the plastic but to soften dried residues, lift pigment stains, and refresh the surface so light can pass through more freely again. Soaks are powerful because they address several root causes at once: oils trapped in microtextures, pigment residues from foods like tomato sauce or turmeric, and mineral films that cling to the interior. When done correctly, the process preserves the container’s safety and shape while restoring its clarity for reuse.
A central idea is to work with the plastic’s chemistry rather than against it. Start with mild, food-safe solutions that can reach into corners and crevices without abrasion. Baking soda, white vinegar, and lemon juice each offer distinct advantages, and when used in combination, they can gently amplify cleaning action without introducing harsh chemicals. The emphasis is on patience and thorough rinsing; rushing the soak or scrubbing with abrasive tools can grind micro-scratches into the surface, making the haze worse rather than better. If you want a compact reference alongside these methods, you can read a broader guide that walks through similar soaking processes here: senang02-disposable-eco-friendly-kraft-box-boat-shape-pla-coated-custom-packaging-for-fast-food-cookie-sugar-tray. (Internal link)
Baking soda sits at the heart of many effective soaks. Its weak alkalinity neutralizes acidic residues and helps emulsify oily deposits that have penetrated the surface texture. A practical ratio is 2 tablespoons of baking soda per liter of warm water. Submerge the container completely and let it sit for 6 to 8 hours, or even overnight for stubborn, pigmented stains such as curry, tomato sauce, or beetroot. After the soak, remove the lid and any gaskets, and gently wipe every interior surface with a soft cloth or sponge. Avoid anything abrasive, such as steel wool, which can scratch the plastic and invite further clouding. This long soak is particularly reassuring for polypropylene containers that have borne heavy, pigmented leftovers. It creates a gentle, sustained cleaning action that gradually lifts color without chemical aggression.
Vinegar offers another reliable route, especially when odors accompany cloudiness. A simple equal-part mix of white vinegar and water works well for most containers. Soak for 30 minutes to an hour, and extend the time if mineral films or mildew are present. The acetic acid in vinegar helps dissolve mineral deposits and loosens oxidized residues while also deodorizing the interior. After the soak, rinse thoroughly with clean water. If the container smells faintly of old oil or previously stored foods, a longer vinegar soak can help—just be sure to rinse deeply to remove any vinegar scent.
Lemon juice provides a natural, citrusy option for lightened stains. Mix lemon juice with warm water in a 1:1 ratio and soak for 2 to 4 hours. Citric acid acts as a gentle bleaching agent and can lift organic stains from tea, coffee, or soy sauce residues. It’s particularly effective on light yellowing caused by oil-embedded pigments. However, a word of caution: lemon juice is acidic enough to affect certain plastics. If your container is made from polystyrene (PS) or shows signs of softening or warping at heat, skip the lemon soak to prevent structural damage.
A blended approach can yield even stronger results without harsh chemistry. Start with a baking soda soak to loosen stubborn grime, then follow with a vinegar soak to tackle mineral residues and odors. The fizzing action that occurs when these two solutions meet can help dislodge particles. Always complete a thorough rinse after a dual soak to remove any residual taste or odor and restore the container’s neutral state.
Pro tip: after any soaking routine, placing the container in direct sunlight for a short period—about 2 to 4 hours—can help bleach remaining pigments. UV exposure can brighten areas affected by turmeric or beetroot while also evaporating any residual moisture. Yet caution is warranted: prolonged sun exposure can age plastics and cause minor yellowing over time. A balanced, occasional brightening session can be a useful finishing touch rather than a daily habit.
In addition to soaking, a few practical notes ensure you protect your containers while maximizing results. Always verify the plastic type or recycling code before applying heat or strong acids. Containers labeled not dishwasher safe should not be exposed to the high heat of a cycle, as heat accelerates surface degradation and clouding. When cleaning, use only soft cloths or non-abrasive sponges to avoid micro-scratches that scatter light and deepen the haze. Boiling water is never recommended, as it can warp PET and other thermoplastics. After cleaning, rinse under running water for at least 30 seconds and rub the interior with your fingers to ensure an even, film-free surface.
A note on prevention rounds out the approach. Cleaning promptly after meals prevents residues from drying and becoming more difficult to lift. Adopting non-abrasive tools and a consistent routine supports longevity. Labeling containers clearly and rotating usage helps ensure you don’t overuse one container for strongly staining foods, which reduces repeated exposure to harsh pigments. If a container develops deep scratches, warping, or persistent discoloration despite careful soaking, consider whether it has reached the end of its structural life; a compromised surface can harbor bacteria or odors that a simple rinse cannot fully resolve.
The soaking methods described here align with a science-grounded, practical philosophy: use gentle agents, avoid aggressive scrubbing, and respect the material’s limits. They address the core causes of cloudiness—oils, pigments, and mineral films—without introducing harsh chemicals that could compromise safety. When implemented with care, most discoloured plastic containers regain their clarity and hygienic shine, ready to be repurposed rather than retired.
For readers seeking broader context or additional technique variations, this discussion complements a recent, comprehensive guide on the same topic. See the external resource below for extended steps, troubleshooting, and real-world-tested methods that expand on the soaking principles described here. External resource: How To Clean Cloudy Plastic Food Containers And Make Them Look New Again. (External link)
Rinsing and Drying for Clarity in Plastic Containers
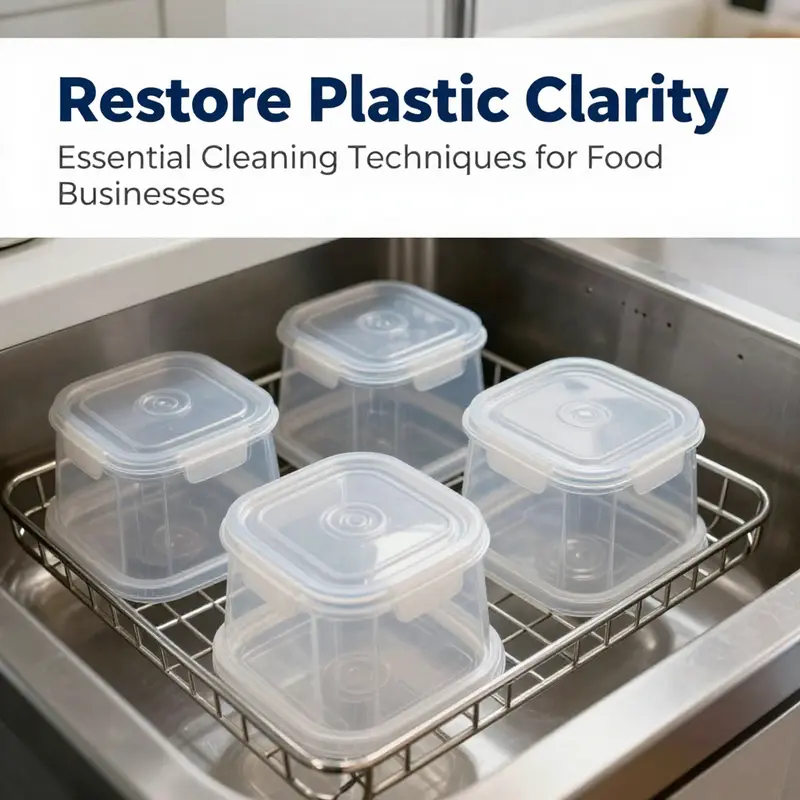
Rinsing and drying are the two quiet steps that reclaim clarity in plastic containers.
Start with a cool or lukewarm rinse to wash away cleaning residues and loosened film.
Hot water can introduce thermal stress and micro-scratches in some plastics, so keep the rinse gentle and avoid aggressive scrubbing.
Handle the container with a soft touch and use a non-abrasive cloth to lift film without scratching.
If you used a baking soda and vinegar soak, rinse thoroughly to remove any lingering fizz or residues before drying.
Drying should be done by air in a well-ventilated space: place the container upside down on a rack or a clean towel so moisture can escape from interior corners.
Allow complete dryness before sealing to prevent mold, odors, or hazy surfaces.
For ongoing care, consult the manufacturer’s labeling for dishwasher safety, and favor non-abrasive cleaning tools.
With a regular routine of cool rinses and patient air-drying, plastic containers stay visually clearer and ready for reuse without harsh chemicals.
Final thoughts
Regular maintenance of plastic food containers is essential for ensuring the longevity and cleanliness of your service equipment. By implementing the techniques discussed—utilizing safe cleaning agents like baking soda and vinegar, incorporating effective soaking methods, and employing proper rinsing and drying practices—you can effectively restore the clarity and hygiene of your containers. This not only enhances the aesthetic appeal of your food presentations but also signals your commitment to quality and safety, which can significantly boost customer confidence and satisfaction.